27
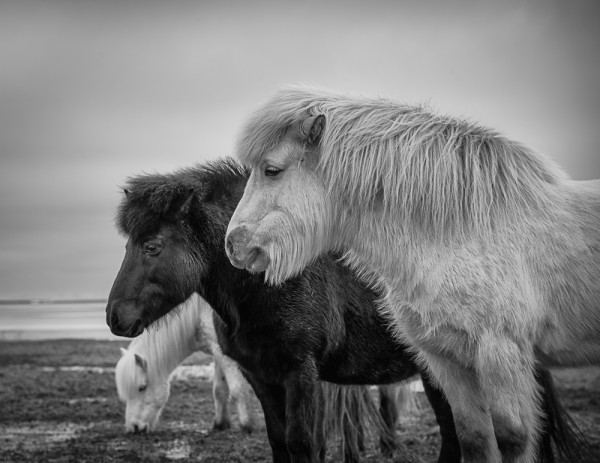
2013The Icelandic horse is one of the more iconic aspects of Iceland. Dating back to the 9th and 10th centuries, these horses are a distinct breed to the island and the only type of horse that’s allowed on the island. Even Icelandic horses that leave aren’t allowed to return for fear of disease.
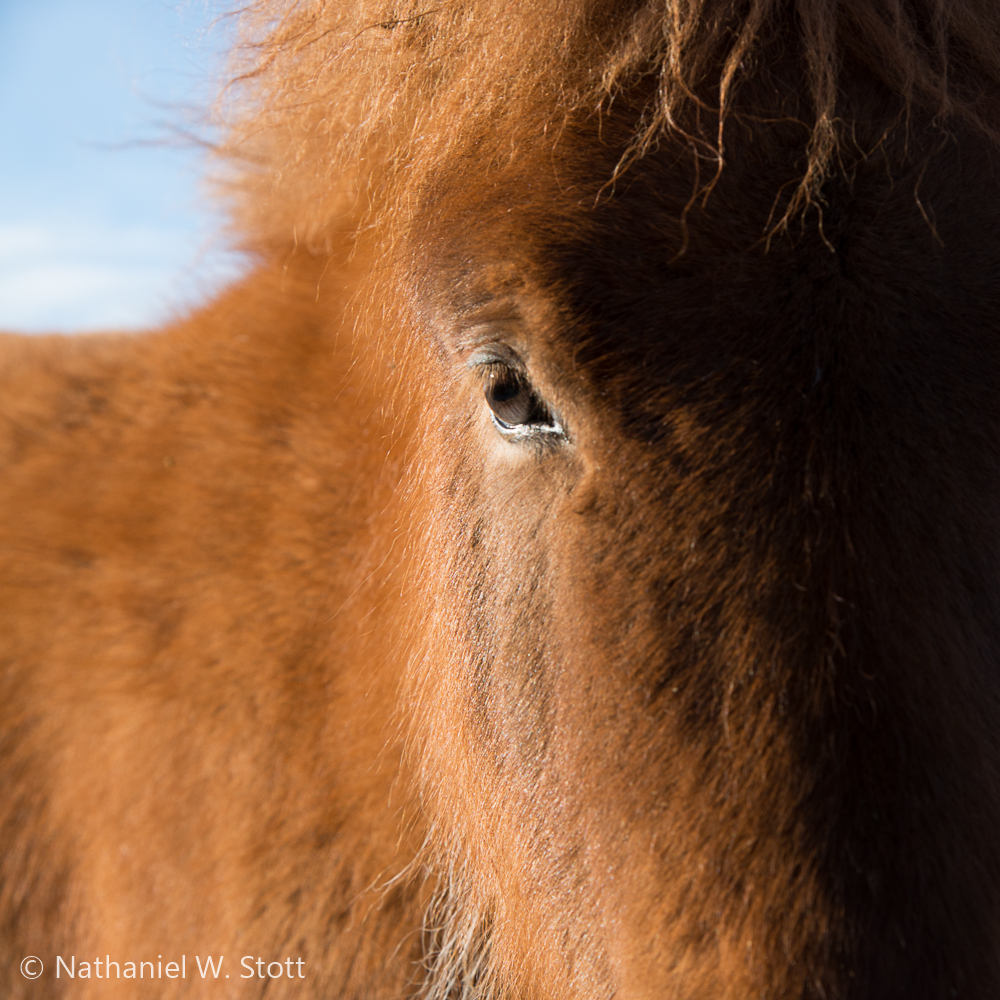
The Icelandic horse has a wonderful personality. They are naturally playful, good tempered, and are simply a joy to be around. Stopping by any pasture and hopping out of the car will almost certainly result in horses coming over to greet you and seek your undivided attention. More intrepid visitors can jump the fence and interact with the horses without any divide. I was initially scared to “jump the fence” and stroll into the pasture, probably because a similar act in the States would almost certainly result in a verbal barrage if not an actual volley of gunfire. However, the people of Iceland are far more even tempered about such things and you may even find that your foray into pasture paparazzi may net interesting conversations with locals.
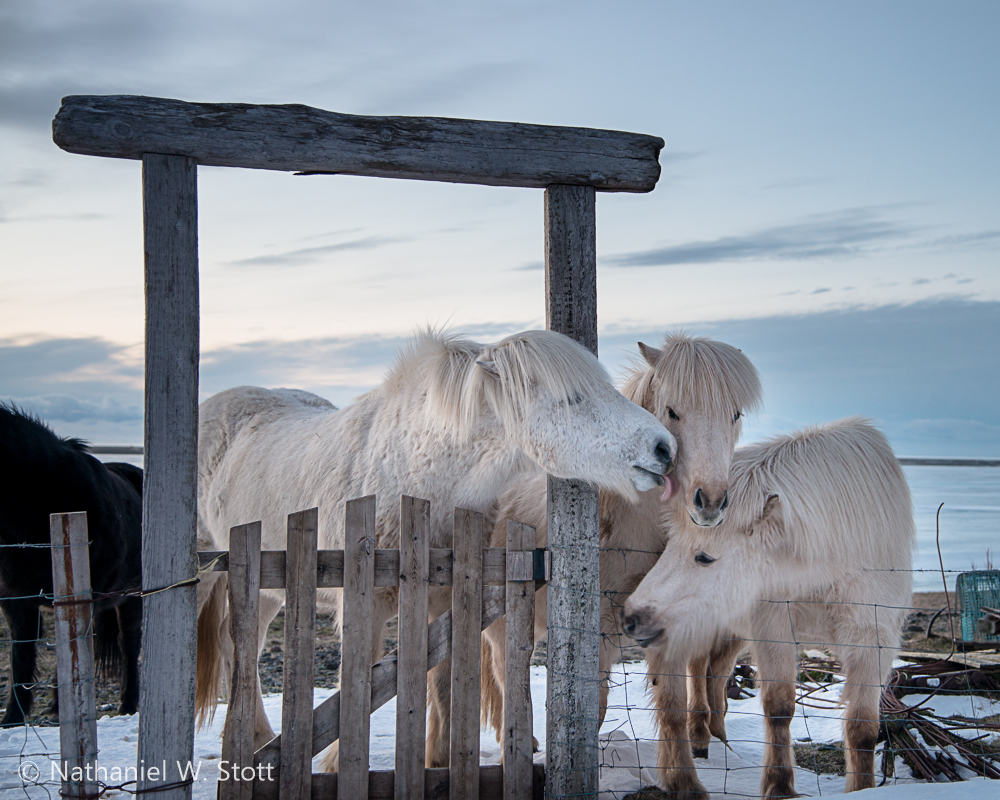
Once committed to the pasture, I was immediately surrounded by horses seeking attention or just otherwise inquisitive of me, my camera, and my pack. Licking and nudging wasn’t uncommon, so expect that you may get a little horse snot on you! At one point, I had no fewer than four horses surrounding me. The horses get so close and are so inquisitive that it’s a challenge to frame good shots. I often found myself backing up to keep the subject in view. Having a companion to keep the horses attention was helpful, so bring friends who love horses!
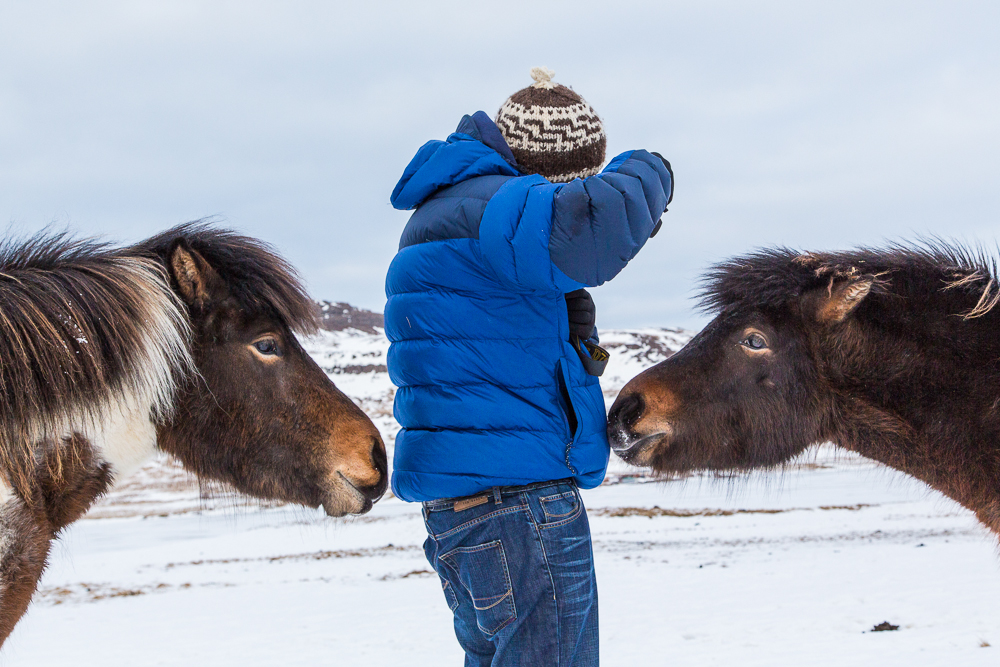
(photo by Anne Archambault)
Icelandic horses are also as hearty as they are playful. The weather in Iceland can be brutally cold and is often rainy and windy. These horses come custom built with thick winter coats and a sturdy, stoic disposition that suits the weather perfectly. As such, it’s not uncommon to turn around and find one of the herd striking an almost kingly pose. It’s not hard to see why the ancient vikings respected these horses and incorporated them into Norse mythology.
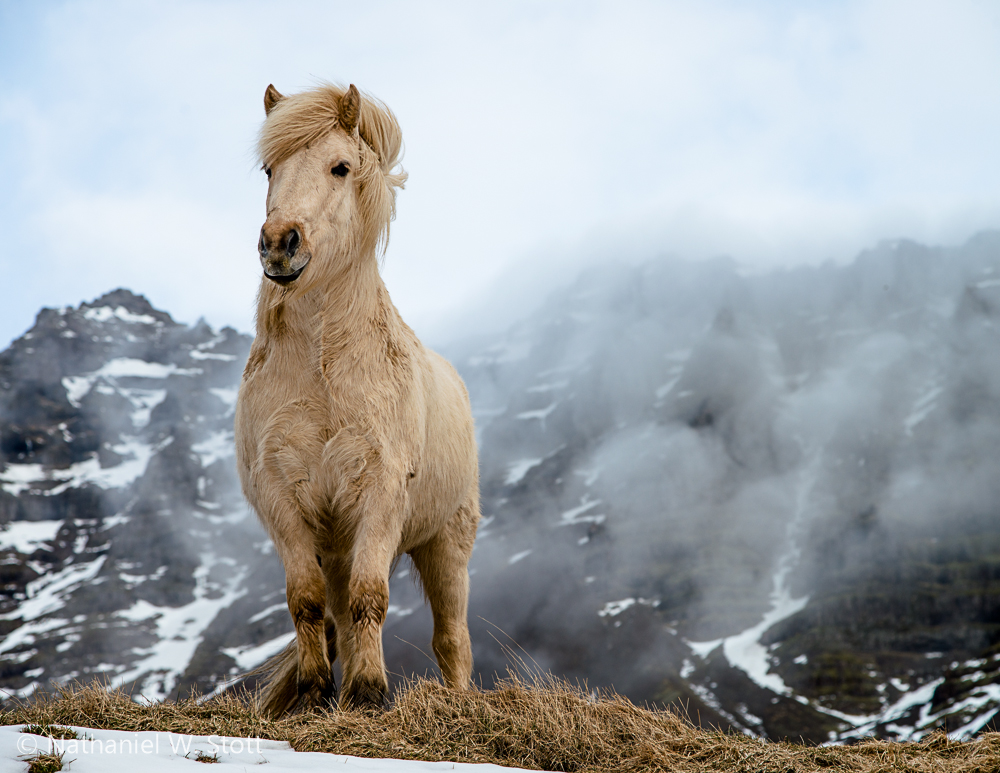
I’d dare to say that no trip to Iceland is really complete without a stop to see Icelandic horses. They’re simply a joy to interact with and photograph. If Iceland is on your bucket list, don’t let yourself leave without some time in a pasture!
12
2013A
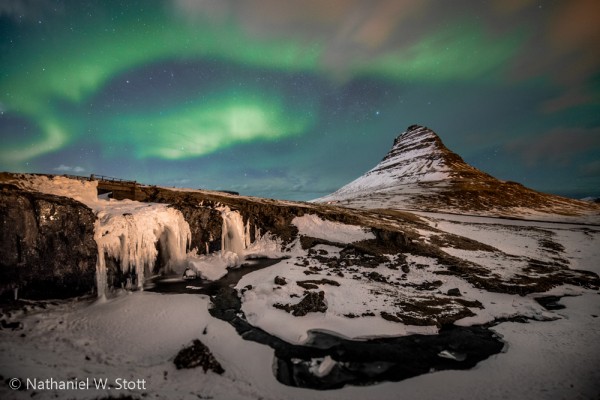
s I mentioned in the previous post, a primary reason for our trip to Iceland was photographing northern lights. I’ve had the lucky pleasure of seeing them multiple times in my life and it’s quite simply a magical experience. The aurora runs in cycles that are tied to solar cycles, with the sun running on an 12-year solar activity cycle. The year also has a monthly cycle with auroras being more prominent in October and March. This year, March 2013 marked the peak of activity in both of these cycles.
Aurora Photography
Taking pictures of the aurora borealis is a somewhat specialized variation of night photography. Hence, you should have a camera that’s capable of taking photographs in low light and at high ISO values. However, unlike night photography, it’s possible for the aurora to get bright enough that you can take relatively short exposures at reasonable ISO values and still get excellent results. In fact, for active aurora displays you’ll want to have relatively short shutter speeds (~8 seconds or even less) in order to capture good definition in the bands of light.
Anne and I read up quite a bit on the subject and there are a number of excellent articles and e-books on the subject. As a short read, EPhotoZine has a nice article outlining some of the basics: How to Photograph the Northern Lights.
A far more complete tutorial written by Patrick Endres on how to photograph the northern lights can be found on his website AlaskaPhotographyBlog.com. It comes in iBook or PDF formats and we found it to be a thorough reference guide. You can find a link to his eBook “How to Photograph the Northern Lights” here.
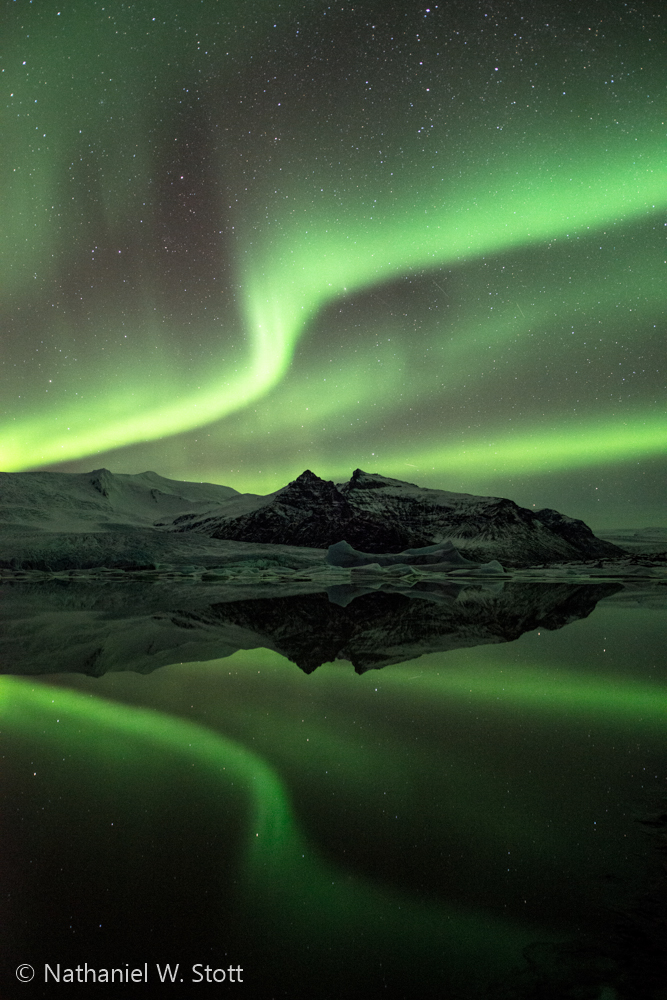
As a general rule, the aurora tends to be seen more commonly between 9PM and about 3AM. It can also have brief periods of intense activity so you do need to be ready to click the shutter at a moment’s notice. This means setting up your tripod and camera and then waiting patiently for the right conditions.
You can check space weather conditions at popular sites like Spaceweather.com or the OVATION aurora forecast. There are also numerous apps that allow you to see the planetary Kp as well as aurora probability ovals.
Cold Weather Photography
Of course, if you’re taking pictures of the aurora then chances are you’re in a cold place, which brings with it another set of photography challenges. You’ll want to get pretty familiar with operating your camera in the dark, by touch, and with gloves on. All while trying to stay warm!
There are a lot of simple things to think about, but here’s a short list that was helpful to me:
- Know your camera controls by feel
- Keep a headlight handy, preferably one with a red filter that allows you to keep your night vision
- Dress warmly. The old adage about dressing in layers doesn’t really help much in the cold (it’s better for activity). Rather, look for as much loft as you can get. Down is best, but heavy fleece works too. I also had a pair of Wetland Hi-Cut Muckboots that were excellent in keeping my feet warm (they are also waterproof and can keep your feet dry)
- Your head, neck, and face count; get a good hat and neck gaiter. These really help when you’re standing still for hours.
- Keep your spare batteries warm by keeping them in interior pockets.
- Keep your lens covered by a lens cap when not in use to prevent frost buildup.
After shooting, you’re going to want to take care of how you bring your camera back up to room temperature. Take your battery and memory cards out while you’re still outside. Before you come back inside, you’ll at least want to put your camera into your camera bag and leave it there to slowly warm up. In more extreme cold, you may want to go so far as to put your camera in a zip-lock bag with desiccant to absorb condensation and insulate as best you can so it comes back to room temperature slowly.
Composing the Scene
Composing an interesting scene for aurora (or star) photography is the real challenge. There are a ton of pictures out there than show the aurora but don’t have interesting foregrounds or good layering (and I’m certainly guilty of this as well). However, when you’re trying to take good pictures of the aurora finding an interesting foreground is a must.
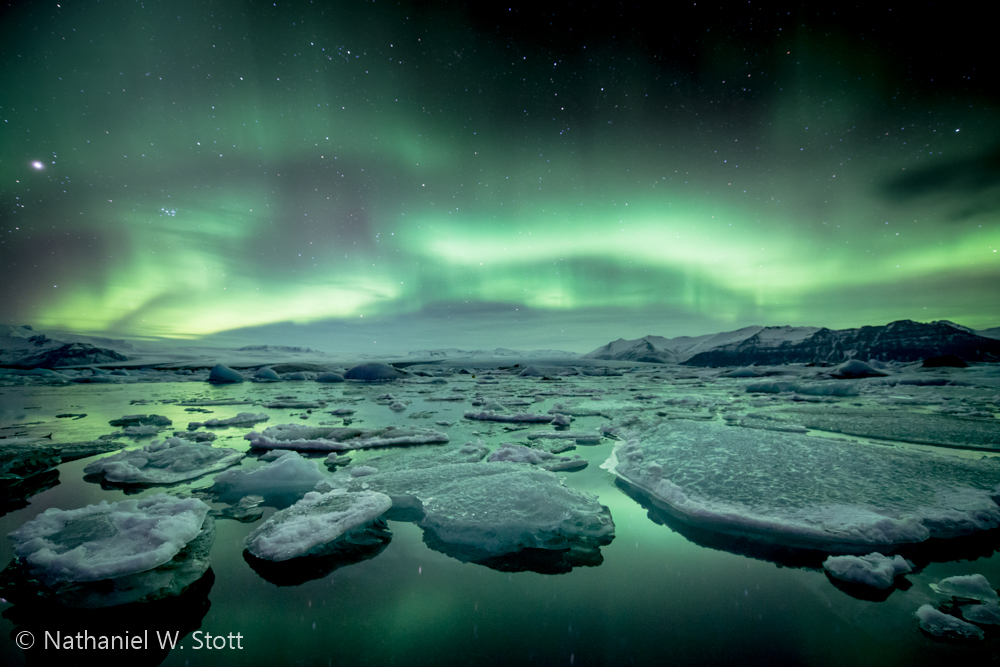
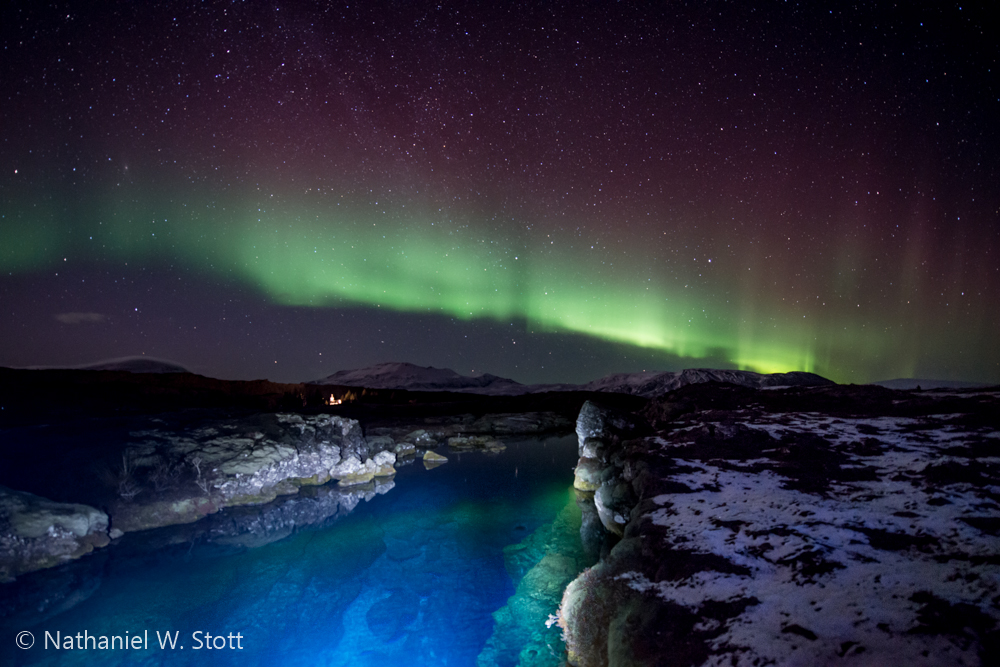
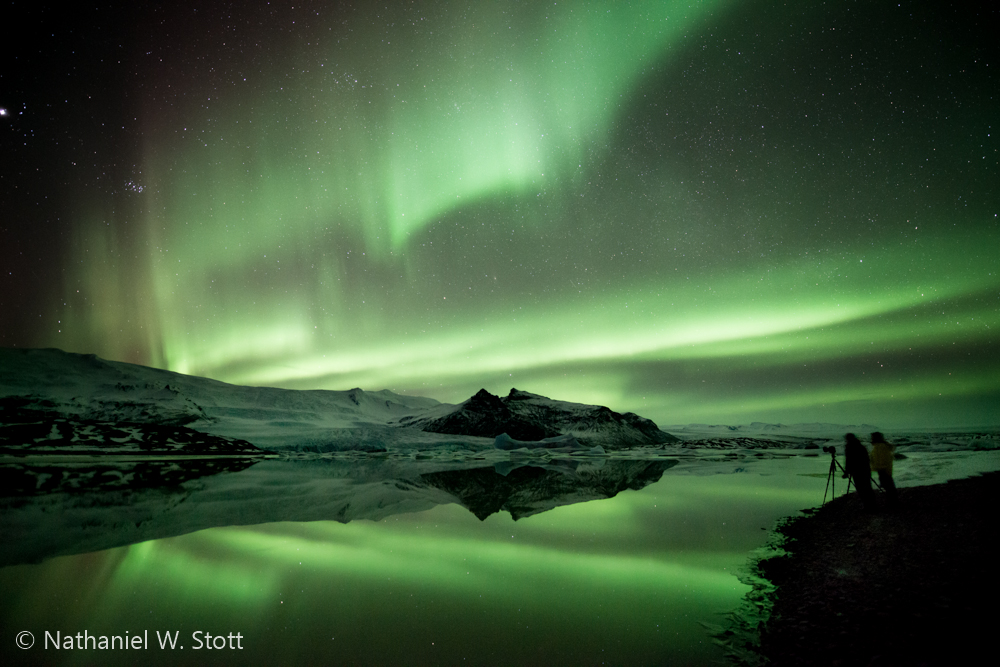
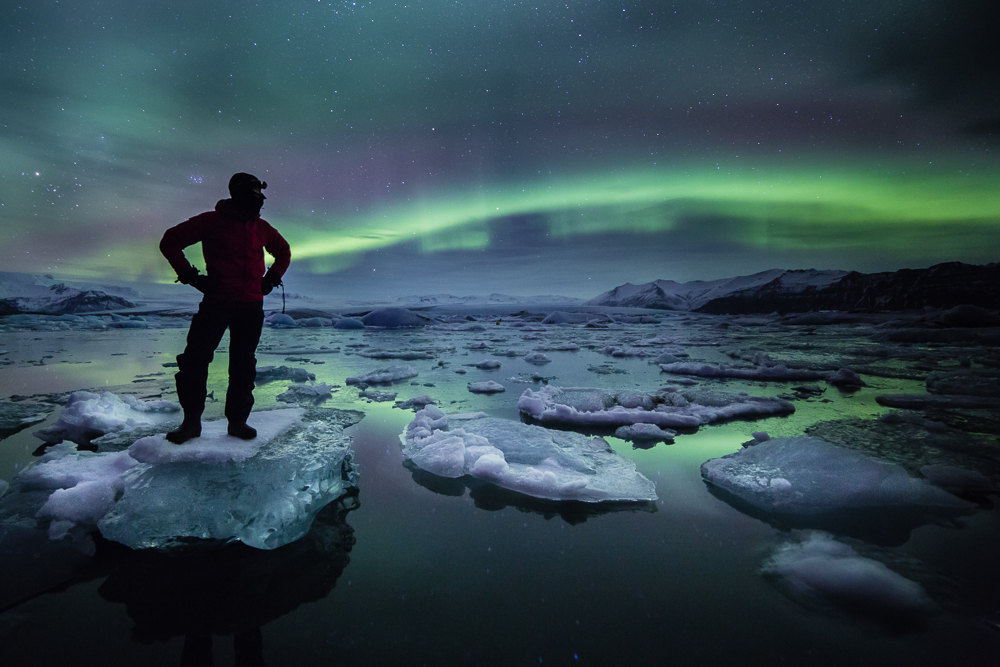
We had the luxury of having the aurora out for several nights across a wide range of locations, which gave us the ability to experiment. Our strongest aurora sighting was over the iceberg lagoon of Jokulsarlon, which was spectacular and added a great foreground to the composition. We also tried various other locations like Geysir, Kirkjufell, and Thingvallir.
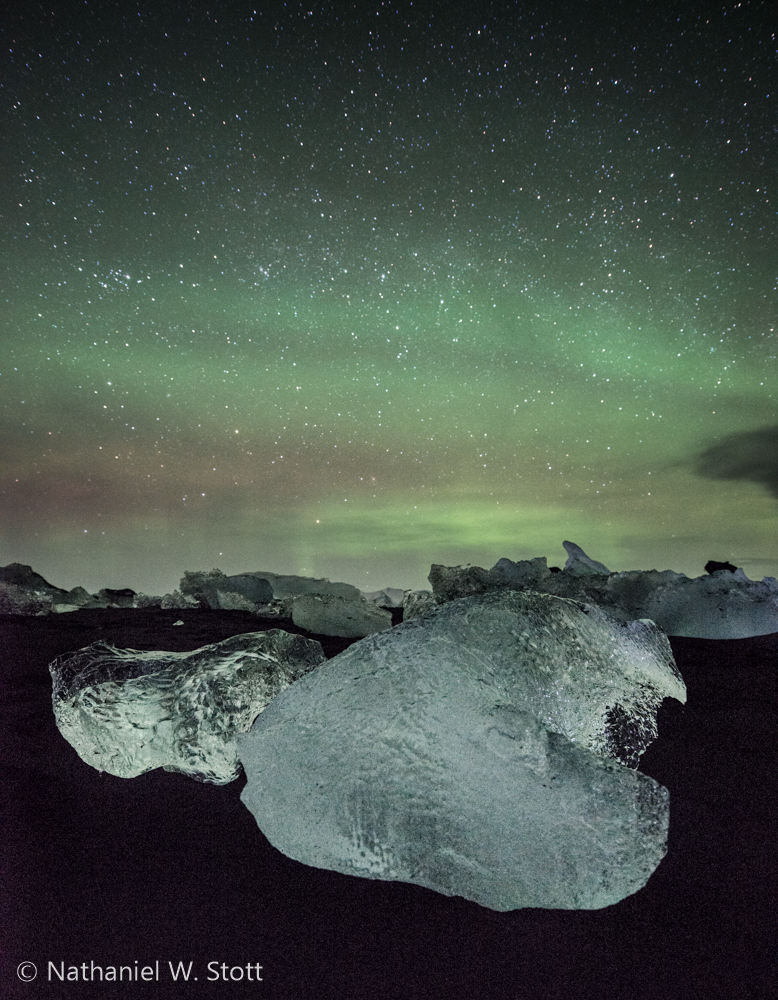
If you can, scout your location before dark to identify good foregrounds. You’ll also want to think about how your foreground composes to the north, where the aurora will likely be. If you don’t get the chance to scout in advance, you’ll need to do the best you can. You ’ll also probably need a light to help you illuminate the scene and generate an initial composition. I found that this helped me to get the general framing. After that I was able to refine the composition by shooting at very high ISO to help me achieve a high enough shutter speed to quickly refine my composition by previewing on the camera back.
If you have a bunch of photographers around, then realize that setting your initial framing with your headlight will likely impact their image, so do try and be as considerate as possible!
Focusing
Focusing in the dark is also a challenge. When shooting for the aurora, you’ll want to focus your lens at infinity and leave it set there. Turn off automatic focus or else you’re in for trouble. I was shooting a Nikon 14-24mm lens and found that the indicated setting for infinity was nearly spot on. You probably won’t be able to just rack your lens all the way to one infinity by hand since most modern lenses focus past infinity. A couple things that may help:
- Use Live view: You should also be able to focus using live view by zooming in on the stars and focusing to make them sharp, though I found this to be awkward and untrustworthy.
- Focus on the Moon: If the moon is out, it should make for a sufficiently large and bright enough target to get your focus and reframe
ISO, Shutter Speed, and Aperture
ISO, shutter speed, and aperture are also pretty important when you’re shooting the aurora because you’ll want to capture images that are sufficiently bright but that are also of high enough shutter speed to keep the definition of the light bands. You’ll be shooting in manual mode, but the good news is that you can fix your aperture so that you only need to play with shutter speed and ISO. Here’s what I found to be helpful:
- Use F2.8, or the smallest aperture you can get – I rented a Nikon 14-24mm f2.8 lens specifically for this trip. If you don’t have glass that’s capable of at least f2.8, you should probably try and rent something because you’ll want the speed and you won’t really need the depth of field
- A shutter speed of 8-10 seconds is probably as slow as you’ll want to go. Slower and you’ll risk smearing the aurora into a nebulous blob rather than delicate bands
- ISO: Use an ISO that helps you attain #2. I started with a high ISO (4000 or so) and dialed back as needed to attain a shutter speed that captured the aurora in a pleasing way
Enjoy the Scene!
I certainly found that when I was actively shooting the aurora, I was taking a lot of time on the mechanics of photography at the expense of the sheer awe of the moment. Do take some moments to step back from the viewfinder and immerse yourself into the magic of the moment!
(photo by Anne Archambault)
09
2013Anne and I recently returned from a 10-day trip to Iceland. It’s been on Anne’s bucket list for a long time and even though I had been there before, I welcomed the opportunity to return. What made this trip special for us were two things.
First, we signed up for a photography tour. We’re both pretty experienced travelers and we’ve both done a bunch of photography in our independent travels. The opportunity to engage in a photo tour offered a couple opportunities for us that we wanted to explore. Primarily, it freed us from thinking about an itinerary. The tour leader would know the best spots to visit and would be able to help with the “cultural” aspects we might encounter. It also promised to take our flexibility away, which was an intriguing new leaning opportunity for me. When Anne and I travel alone, we’re free to come and go as we please. On a tour, we might be forced to “get creative” when we’re not feeling the creative photo bug.
Second, the tour offered a relatively unparalleled opportunity to view the aurora borealis. Our tour coincided with both the 11 year solar cycle as well as the yearly cycle. March 2013 was *THE* time to be in a high northern latitude.
Since the photo tour thing was new to us, I wanted to document some learning’s about the trip for anyone else considering a photo tour to Iceland or some other destination.
Logistics
As surmised, the ability to leave logistics up to a guide lowered significantly the overall amount of effort required in planning the trip. Neither Anne nor I wanted to be completely logistically unaware, so we did get a rough itinerary ahead of time to ensure we were going to go to places we generally wanted to go. Clearly, you should look for trips that will be touring to the spots that you want to go and have accommodations that are appropriate for your desired level of comfort. For example, Anne and I both knew that travel in Iceland involved stays at guest houses, some of which only had shared bathrooms. It was hardly a hardship. The point is, ask up front so you’re not surprised when you get on site.
As surmised, the daily logistics were also set by the group, and not by us as individuals. This meant that sometimes we would spend more time in a location that I might normally. Personally, I enjoyed the challenge of knowing that I was going to be somewhere for a while and that I would need to make the best of it photographically. Most of the time I felt like I didn’t have enough time to accomplish what I wanted to because I’d been able to get over the “creative hump.” Only a couple times was I really at a loss for what to do photographically and I was able to stop taking pictures and enjoy the incredible place that I was in.
Transport
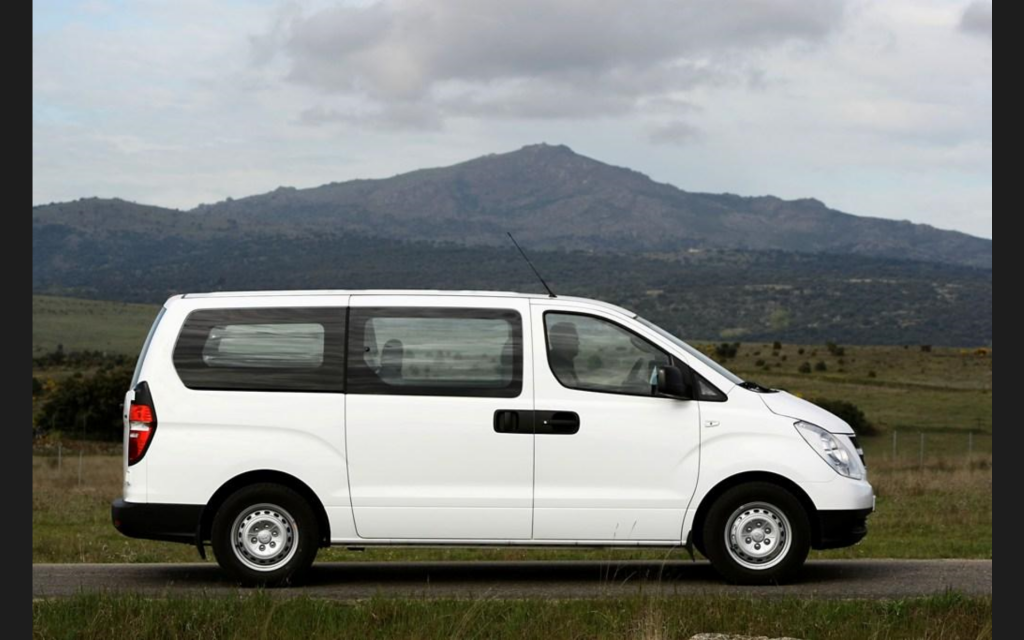
Our trip included transportation, which in our case was a “9” passenger van. It worked, but it was pretty tight and could have very easily been insufficient with slightly more luggage. Fortunately, our trip leader had advised us in advance so we could pack accordingly.
As photographers, we travel a little heavy by design. We’re often carrying a lot of gear that we *MIGHT* need but is often in excess of what we really need on a day to day basis. For my part, I fit my luggage into a Medium North Face Base Camp Duffel and all my photo and video gear into a Gura Gear 30L Kiboko pack. Anne and I also shared a computer bag containing two computers, power cords, and magazines for reading. This was a pretty “small” travel setup and was probably at about the max each person could have brought and fit into the van comfortably.
Certainly inquire of your trip leader about the travel accommodations, including the type of vehicle you’re traveling in (if transportation is included), how many others will be sharing with you, and if there will be any space constraints so you can plan accordingly.
Trip Style
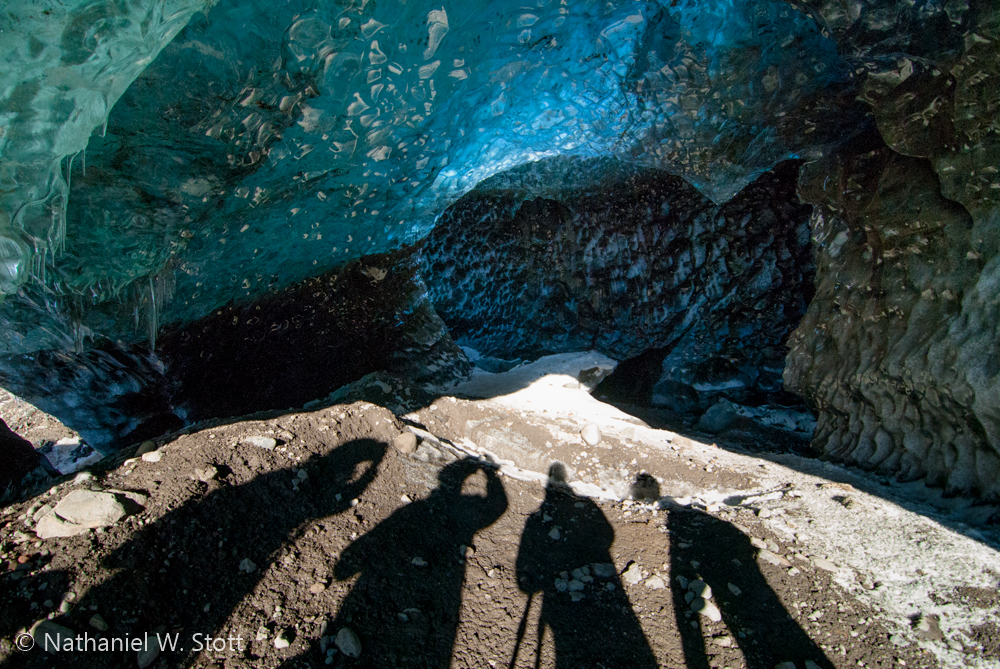
Anne and I intentionally chose a photo tour as opposed to a “workshop.” We weren’t really after a lot of instruction but rather wanted the “freedom” that came from leaving logistics up to others. The photo tour promised to take us to the sights we wanted to see, and to arrange to see some places that we might not have otherwise seen, like ice caves. The tour also provided some local expertise that enabled us to do things that I might not have done had I been there alone. The photo tour also allowed the opportunity for some creative instruction, but that wasn’t the explicit point.
Photo tours may not be for all, especially those looking for a more hands on approach where a workshop style may be more appropriate. If you’re looking to specifically advance your photography, a workshop may be more appropriate. So certainly be aware of the type of trip you’re looking into and ask questions to make sure the style is appropriate for what you want to get out of it.
Shooting
As part of an organized trip, you get to see a lot of beautiful places. You also get the pleasure of doing that with the rest of your group. In this respect, both group size and common courtesy are critical. Obviously, the more people you have in a location, the higher the chance that you’re just going to get in each others way. You’ll need to pay special attention to try and work as a group, starting at the same place and working the subject in roughly the same way. If you move forward you may very well be on someone else’s frame. So ask and look regularly.
Even so, you may feel like you’re part of a herd. My introverted personality hates this sort of thing so I’d often try to find a new vantage point or subject away and in the opposite direction from others. Sometimes it’s just unavoidable that you’ll get in everyone’s way so do your best to be polite, courteous, and wait your turn. For both of us, a group of 6 would be the largest we would consider if we ever chose to go on another photo tour.
Summary
Lest it sound like Anne and I didn’t have a good time, much the opposite. We had a great time seeing some incredible sights in a wonderful place. We met wonderful photographers who were a joy to be around. The companionship was actually a great highlight of the experience. And we came away with great photos, some of which we’d never have gotten had we not been on this tour.
30
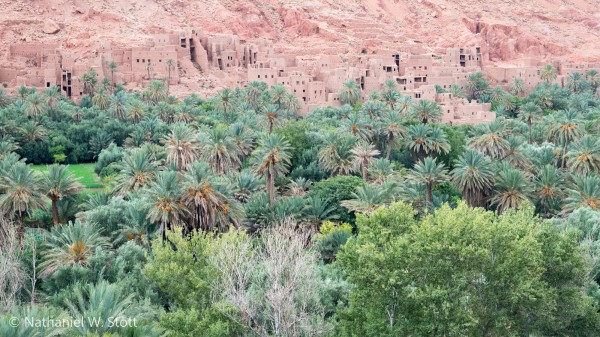
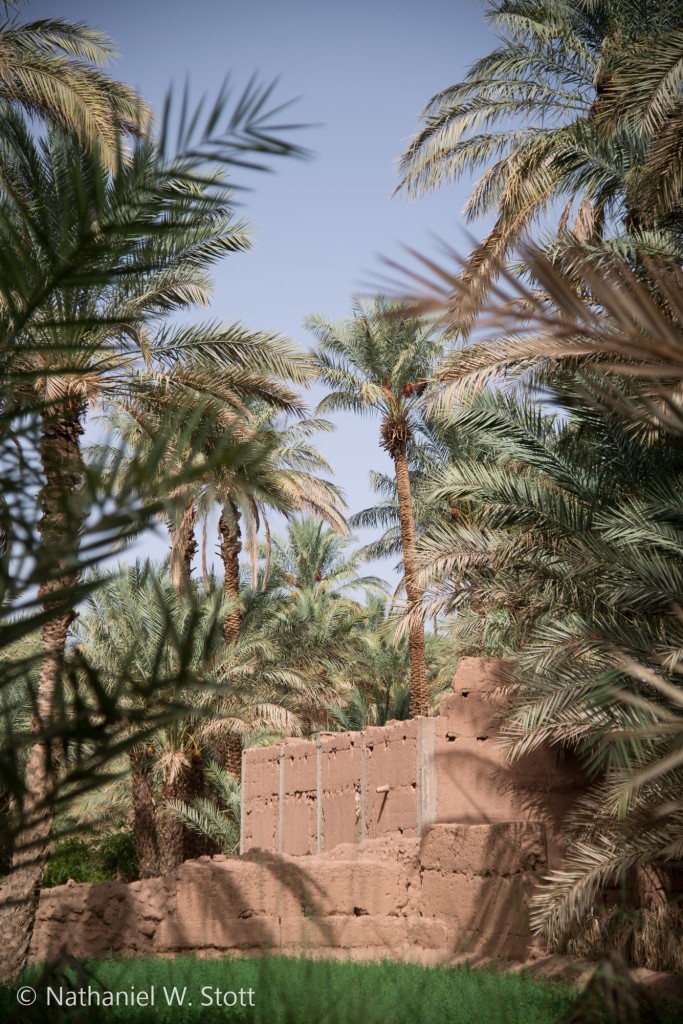
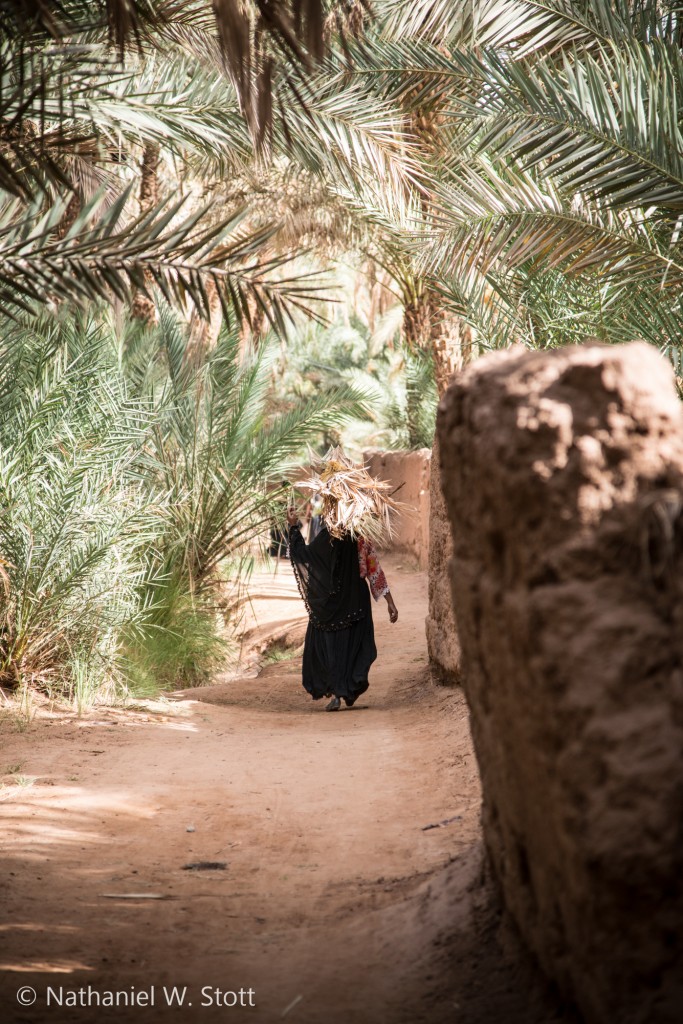
2012Palmeraies are an important part of life in Morocco. If you travel to the desert at all, either to Merzouga or to M’hamid you’ll undoubtedly drive past them. And if you have the chance to stop and wander around, I’d highly encourage it.
In the short time I had wandering I was exposed to people in a far more natural setting than in any of the towns we visited. I was approached and talked to spontaneously, despite the camera in my hands.
If there’s one regret I have in Morocco, it’s that we didn’t take more time to slow down and explore these incredible places.
30
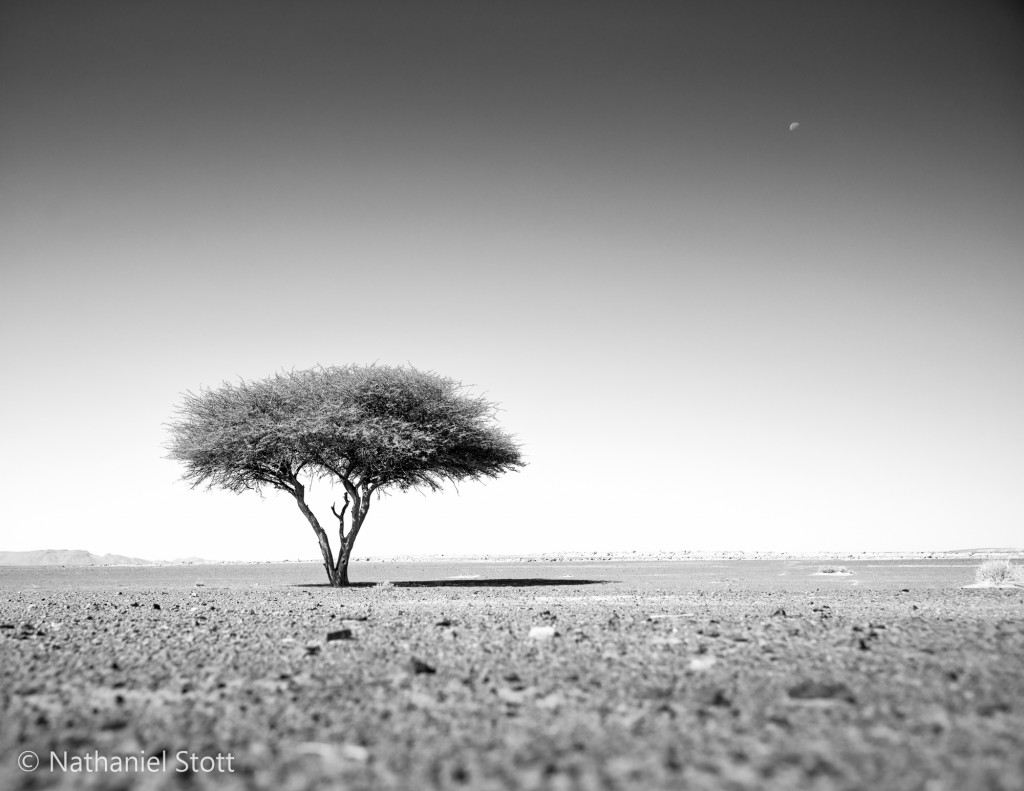
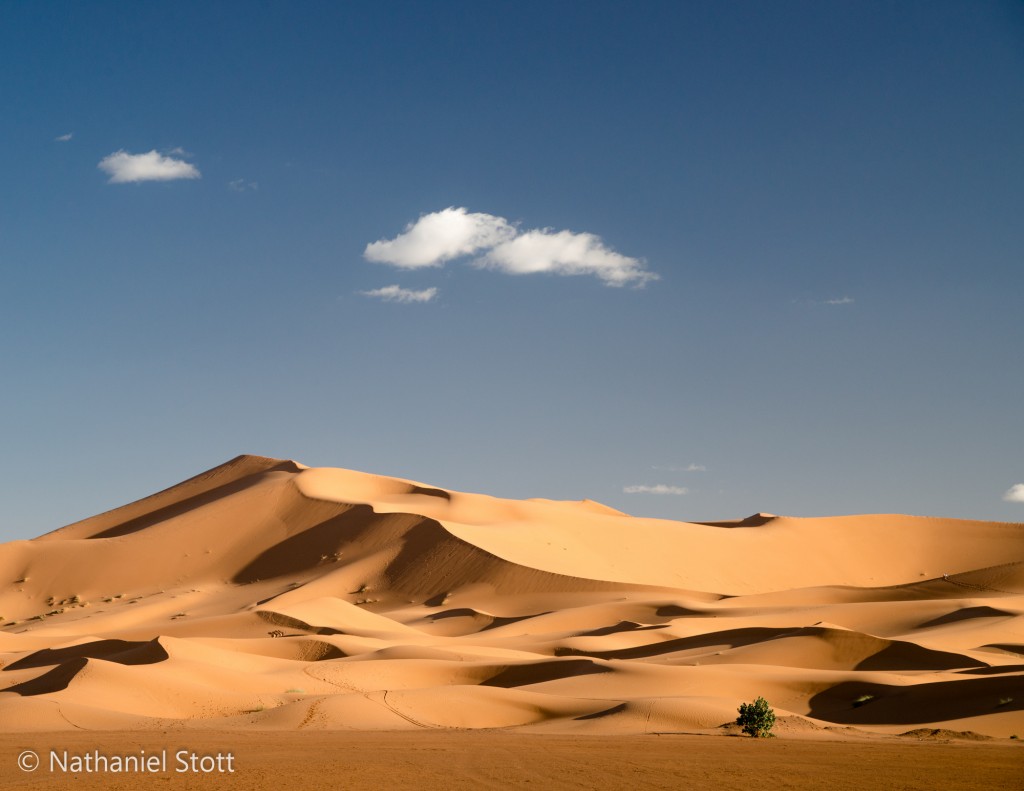
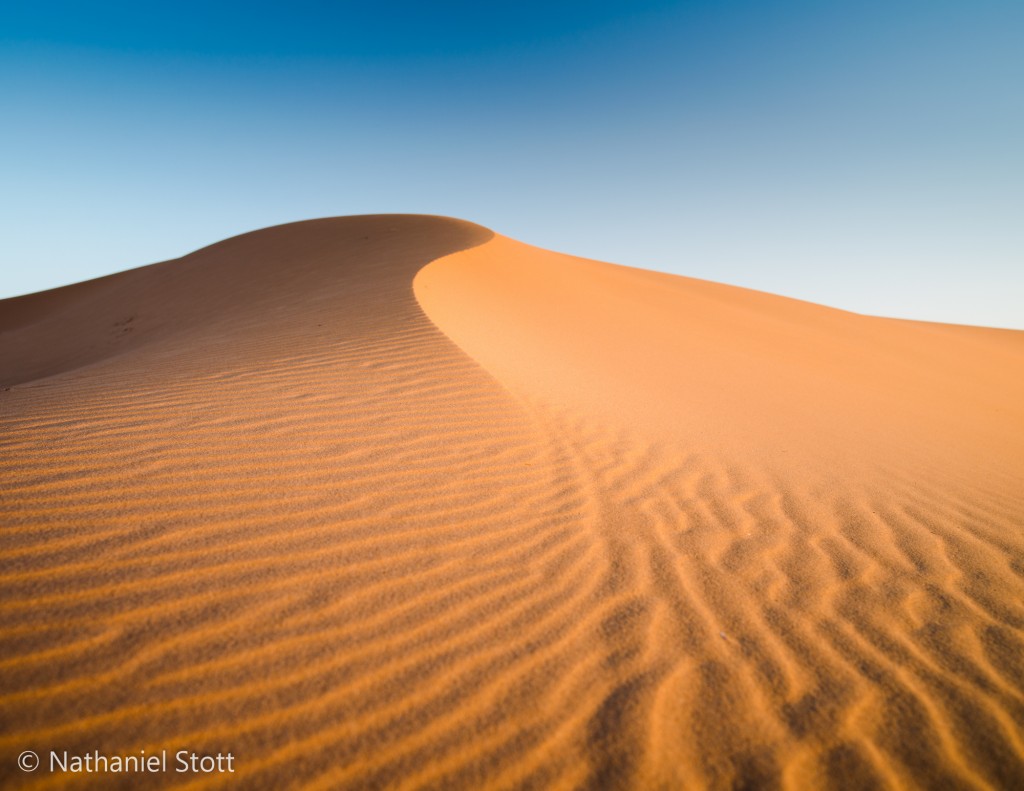
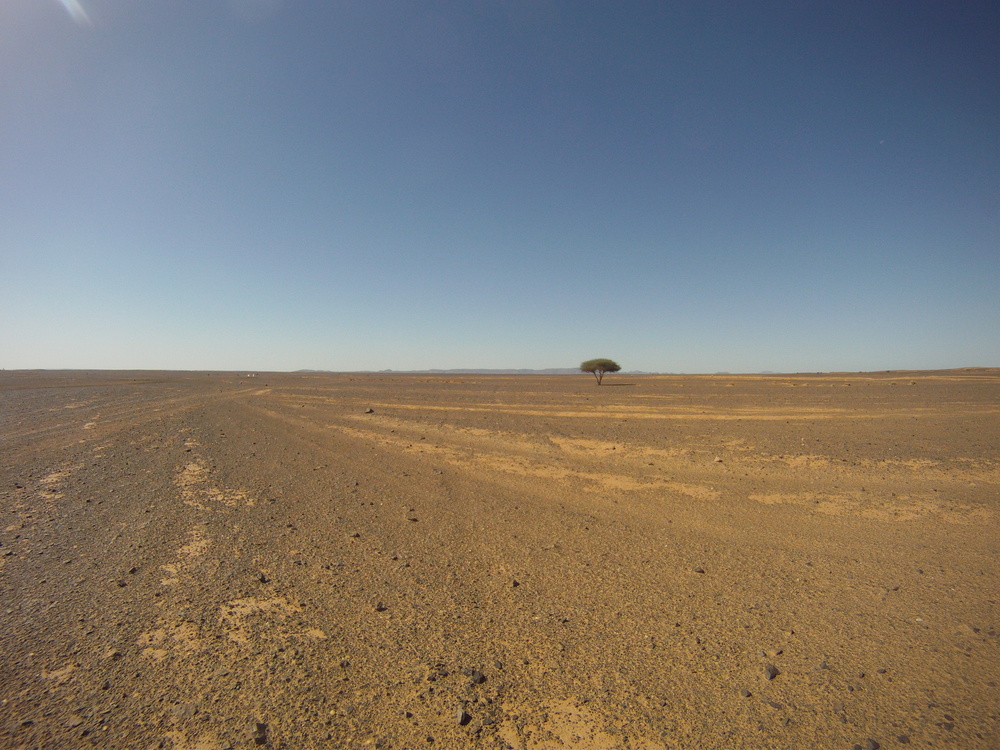
2012Most people think of the Sahara desert as a mass of sandy dunes that continue as far as the eye can see. While this may be true in other parts of Africa, the Saharan plain in Morocco consists primarily of stony desert with limited interspersed dune outcroppings.
The dunes of Erg Chebbi rise up out of this stony plain seemingly out of nowhere and form an isolated dune island that’s teardrop shaped and can be circumnavigated in a day. Plenty of 4×4 operators in town offer day long packages that do this navigation with several stops along the way to see local villages and such.
The stony desert is flat and for 4x4s offers a relatively unlimited ability to navigate freely. 2WD rental cars don’t have it as easy but can stick to main “roads” that are well marked and devoid of significant sand and washes. In fact, many of the lodgings around Erg Chebbi are accessible only by taking a dirt road into the desert.
Overnight Camp
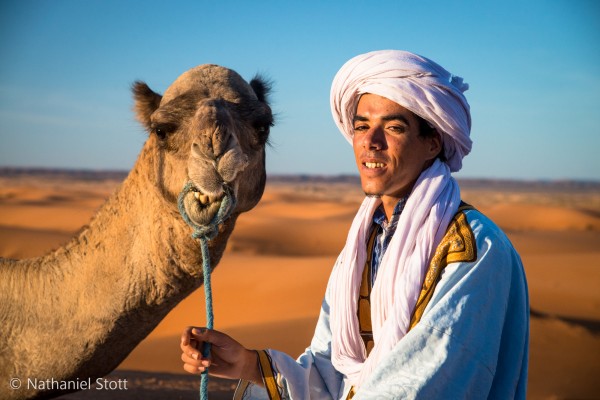
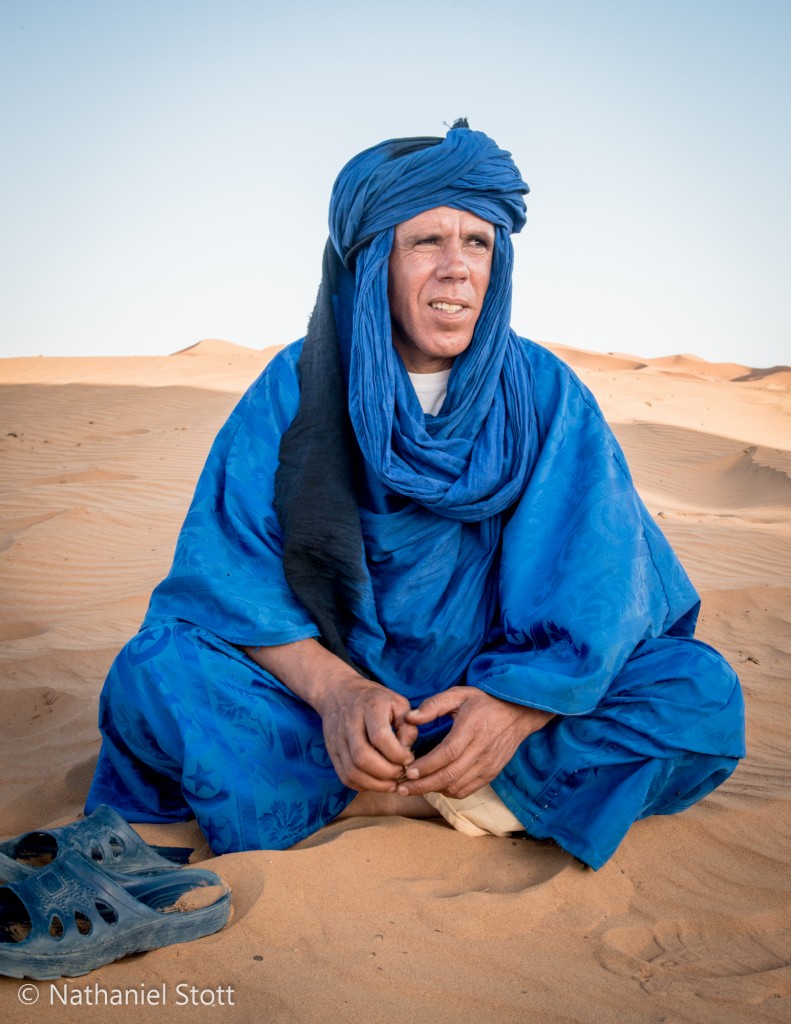
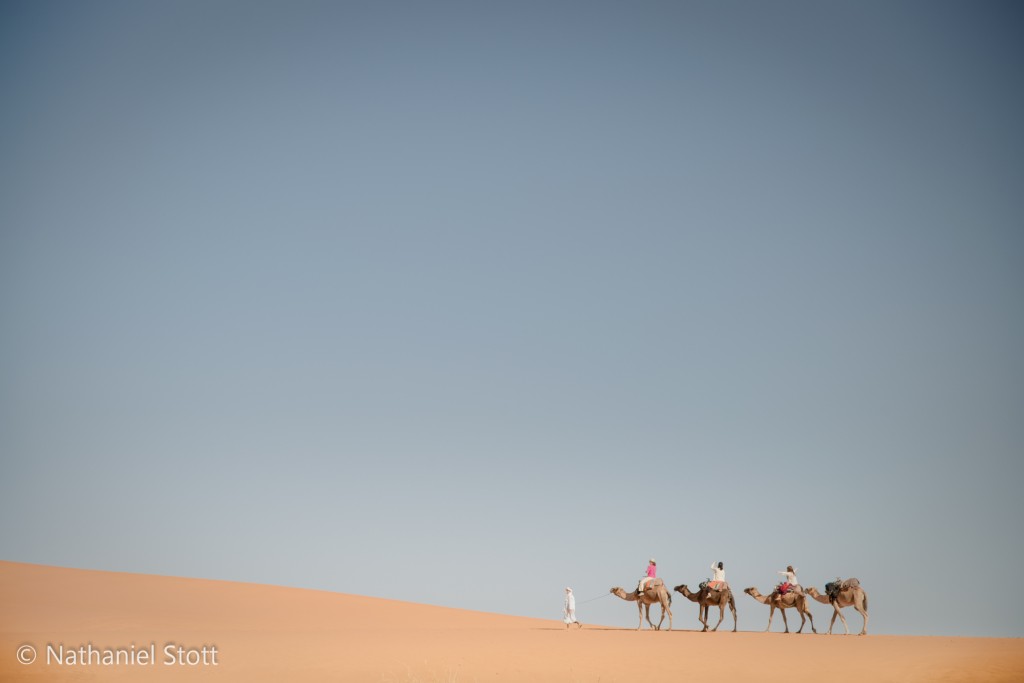
Trips to an overnight camp are a great way to be out in the dunes for sunset and sunrise as well as providing an incredible opportunity to get away from the lights of Merzouga for star photography. They also provide up close and personal time with camels and their Berber handlers.
Riding a camel is of course an interesting experience. I quickly found that the swaying motion of the camel chafed my legs. It also hindered my ability to take the images I wanted of the group moving by, so I walked most of the short distance to camp in the mild temperatures of late evening.
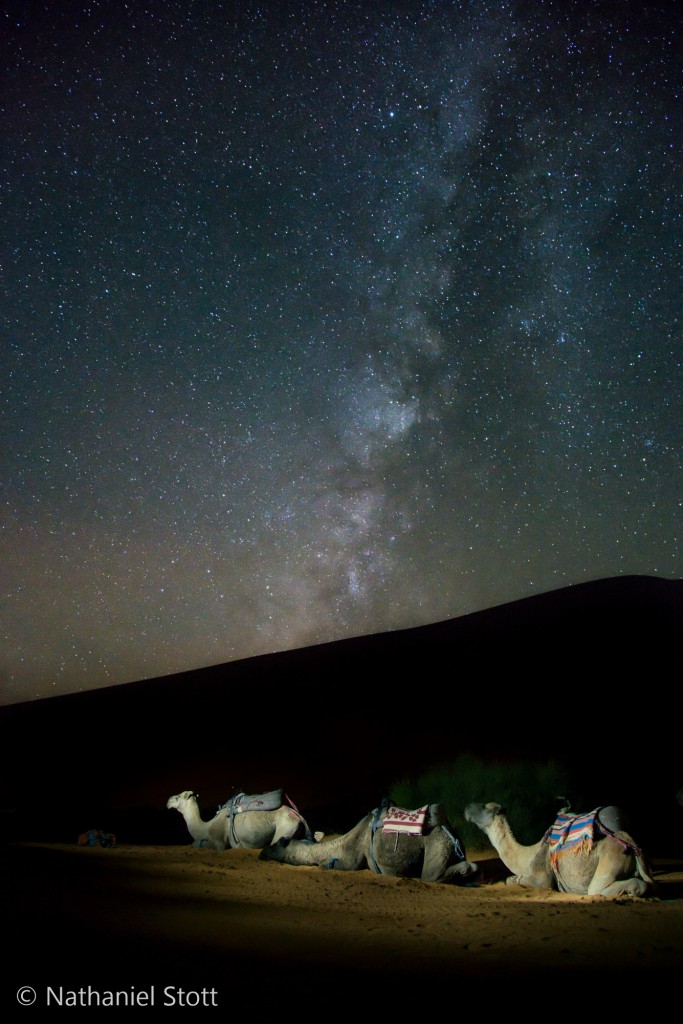
After dinner, we set out to find an interesting foreground for our star photography. We hadn’t had time to fully scout around camp due to our late arrival and dinner. But we did know where we’d left the camels for the night so we headed that way and used them as photographic props for the next couple hours.
It should be noted that star photography isn’t as good as you might expect in the desert as it is here at home in the Pacific Northwest. The proximity to the equator means that the atmosphere is thicker and the blowing sand increases the particulate matter in air. This combines to give a somewhat “muddy” atmospheric effect. Regardless, we were both able to capture some fun images of our camels under the Milky Way and in front of one of the large dunes of Erg Chebbi.
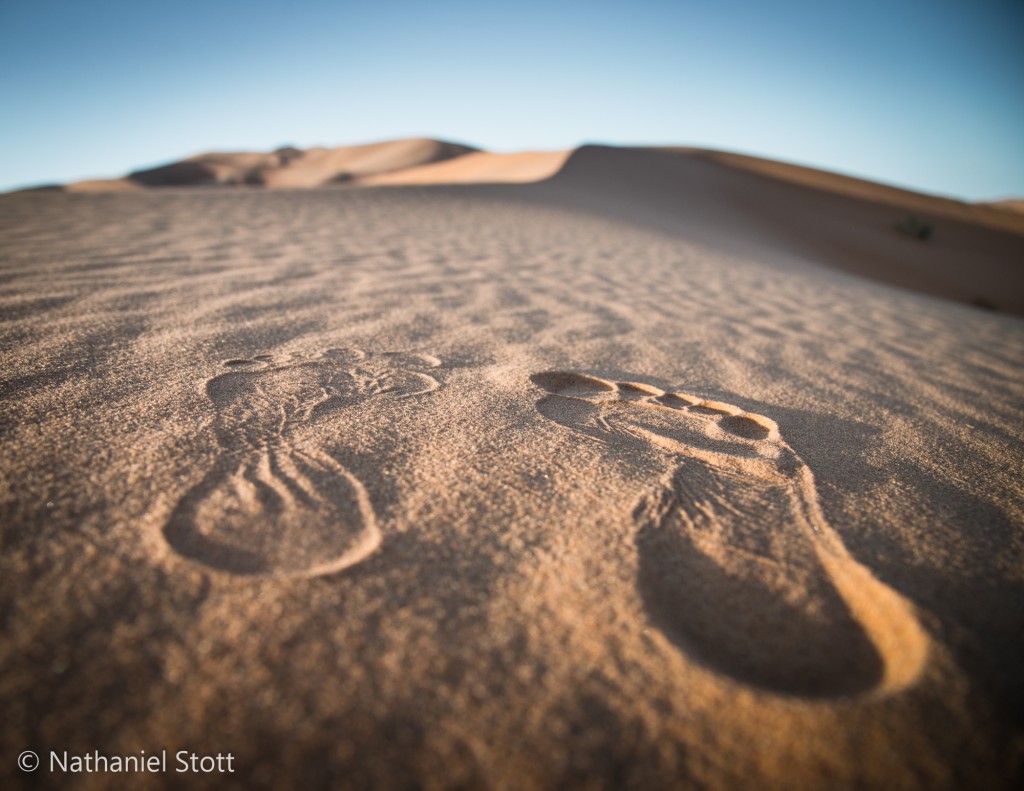
We woke before sunrise the next morning to catch sunset on the dunes. While I think the intent was for us to climb to the top of the large dune directly behind camp, Anne and I wandered off into the surrounding dunes to look for fun shapes and interesting things to capture. Pre-sunrise was great, the temperatures were cool and the light was nearly perfect. Again, given the proximity to the equator, once the sun rose we had very little time before the light became harsh and made the images much less interesting.
A Little Slice of Berber
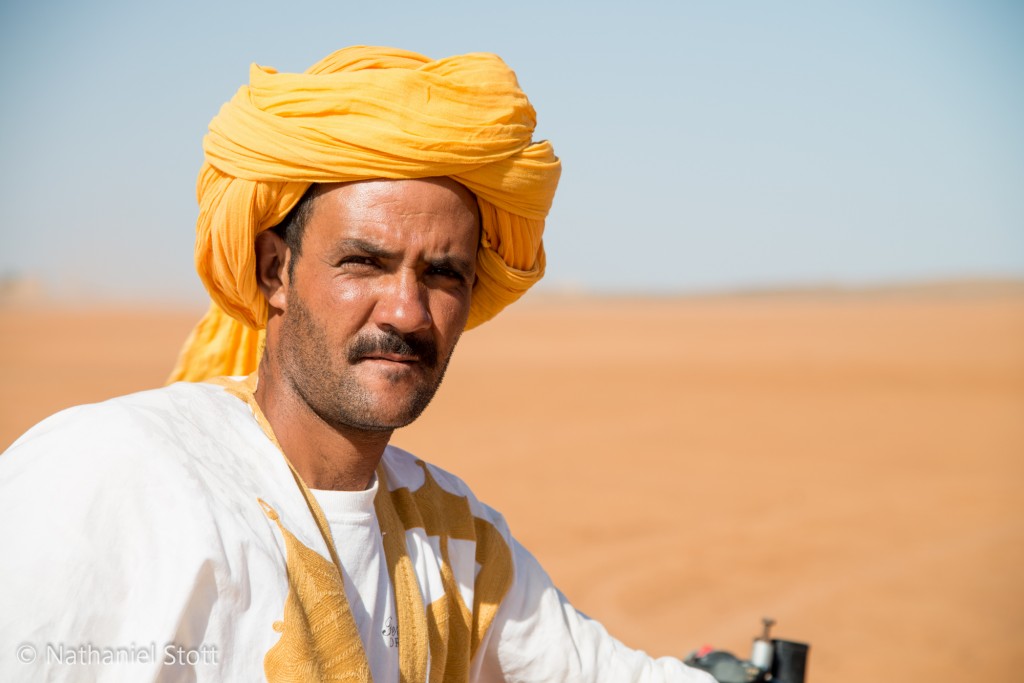
Given the large influx of tourists, there are a lot of Berber guides in the vicinity of Merzouga. They dress in fantastically colorful and interesting clothing and make for some excellent subjects when you’re able to indulge them in a small photo shoot. However, as mentioned before the culture is typically anti-photo so do ask before you make the image
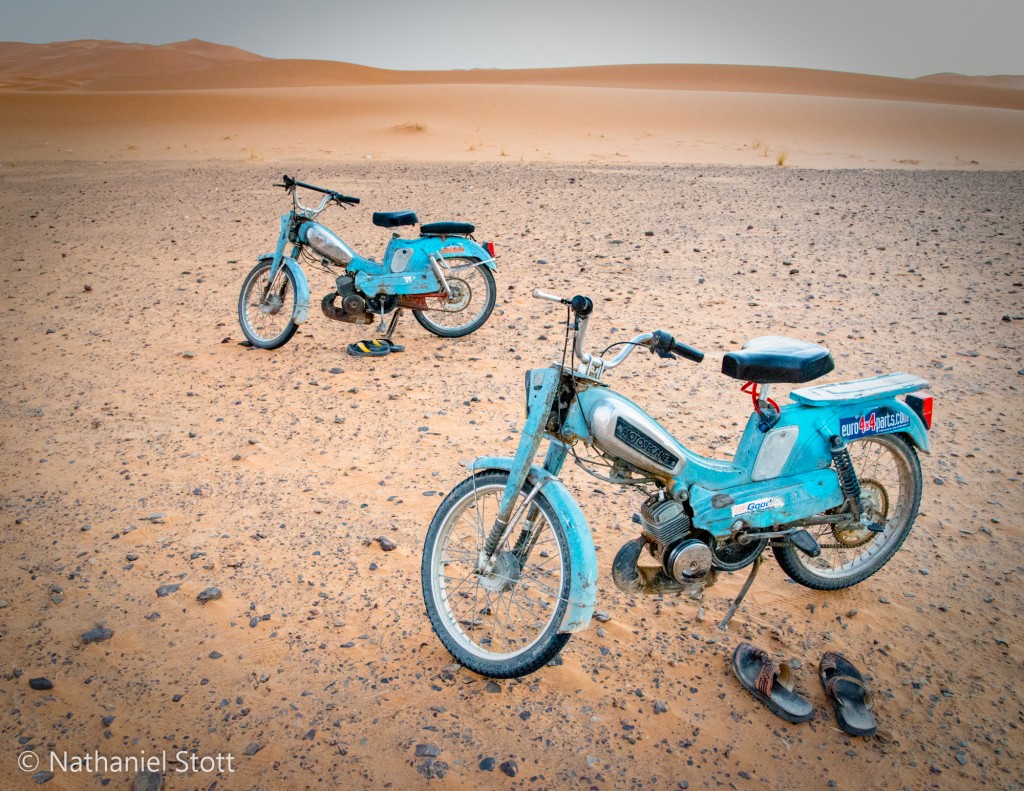
Just like everyone else in the world, these guides need to get to work somehow and it seems a lot of them use small mopeds to make the journey from town to their guide assignment for the day/night.
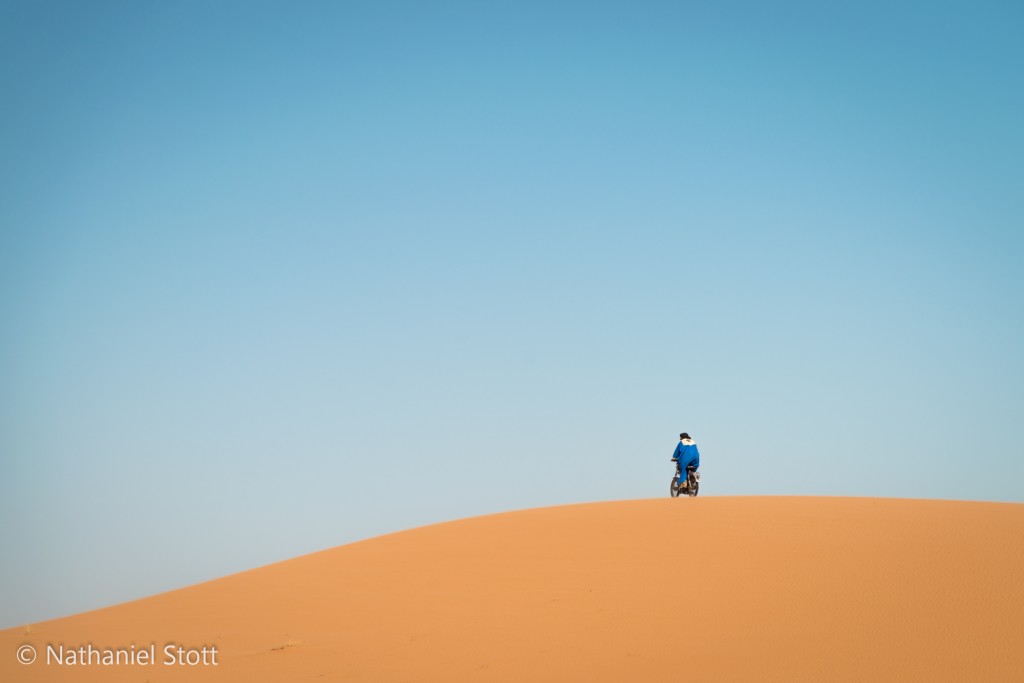
On our way back from our overnight, we came across one gentleman who was riding his moped around the dunes. It was an awesome sight, both in terms of the stark contrast to the normally reserved personality we saw as well as just the straight up craziness and skill involved in riding a moped in sand. There’s a new sport here folks!
Summary
Yes, it’s touristy but we highly enjoyed our time in the desert. I think I wish the camp had been slightly more rustic and authentic, but aside from that I’d gladly go back and spend more time in and around Erg Chebbi.
09
2012A
nne and I spent a bunch of time reading up on how to get around in Morocco. While renting a car is always an “easy” option, in countries like Morocco it can be trickier. Reading up just a little on forums about the perils of driving in Morocco with the winding roads and crazy drivers will very quickly put you into looking at other modes of transportation, which we did. However, when it came right down to it we were quite concerned that public transportation would take up significant logistical time and would compromise our ability to take the photos we wanted. In the end, we rented a car and we’re thrilled we did.
Bigger Than it Looks on Paper
The country is larger than you might think when looking at it in guide books and on maps. That coupled with the fact that you’ll often read about how tours will take you from Marrakech to Erg Chebbi and back in 3 days deludes you into thinking that you can move around quickly. This really isn’t the case at all if you’re drive around or over mountains. While we were able to make pretty good time on the Saharan side of the Atlas, anything near the mountains means winding roads that significantly slow your speeds and dramatically increase your transit times.
We also discovered that local culture is all about underestimating the amount of time (and distance in some cases) it takes to get anywhere. Figures almost always needed to be adjusted up by a factor of 1.5X to 2X. To account for this, it’s best just to break your travel up into smaller days than you think you need and spend the additional time simply enjoying what Morocco has to offer.
Renting a Car
Anne and I rented our car from Thrifty at the airport in Marrakech. That turned out to be the cheapest reasonable option for the time we wanted. Based on talking with the taxi driver who carried us to the airport, it sounds like these rates vary based on time of year. You may find that at different times of the year you can rent a car from one of the major rental agencies, pick it up at an office in downtown Marrakech, and have that option be cheaper than picking up and dropping off at the airport. Increasingly, renting cars in foreign countries does not require an international driver’s license and Morocco is no different. We opted for the Collision Damage Waiver given all we’d read in blogs about car accidents, and having seen a bad one on the way to the airport only made that decision easier.
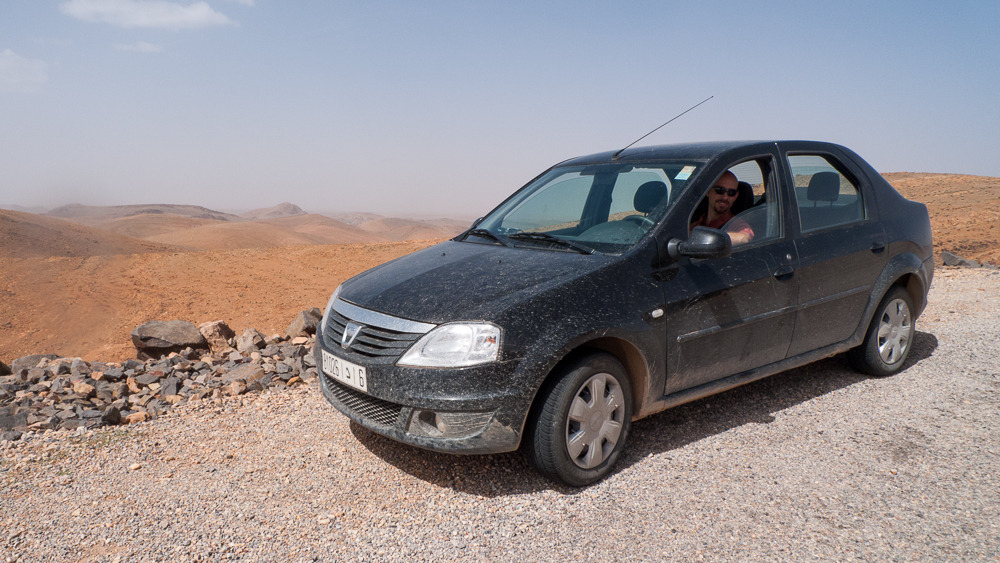
The car we rented was a Dacia Logan, manual transmission with A/C. This is the staple of the rental fleet. When you see one in Morocco 9 times out of 10 it is a rental driven by a foreigner. The car isn’t elegant, but it held our two large bags easily in the trunk with room enough to cram in our photo backpacks when needed. While the Logan has almost no guts in the engine, it has the advantage of having a good deal of ground clearance, which came in handy in the desert and on one of the “highways” we travelled. Note that many other sedan rentals have significantly less clearance and would have gotten us into trouble on our trip…
Obviously, when you pick up the car make double sure that you’ve marked ALL the marks on the car on the rental agreement. I was insistent on having some paint splotches marked and didn’t get my way. That almost came back to haunt me when I turned the car in. If the agent doesn’t want to mark it, tell them you’re not leaving until they do.
Driving
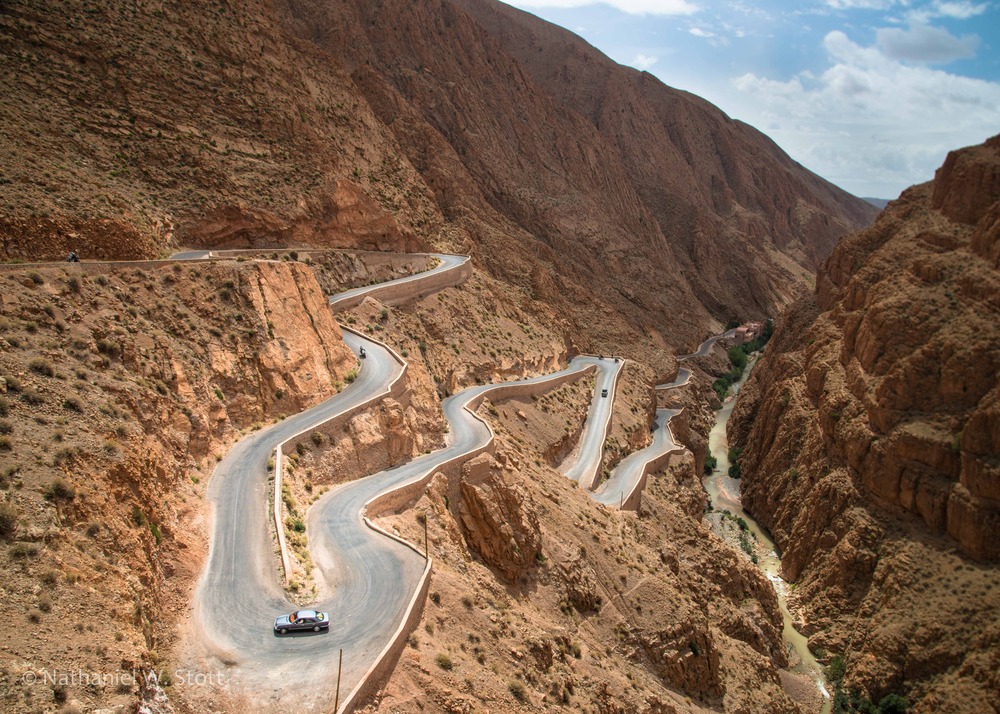
Honestly, driving in Morocco isn’t bad. Moroccans drive on the right side of the road as a rule, but that’s no guarantee that they will stay there… Indeed, on most mountain roads cars stay in the center of the road or even drive in the oncoming lane to minimize the curves in the road. You should expect a car in your lane at the top of any hill and around any corner. Check your speed and surroundings accordingly. In the Anti-Atlas, the mountain roads are really only about 1.5 cars wide. This means that one or both parties need to give significantly to allow oncoming passing. Here I found the Logan to be a dead giveaway to my tourist status. This translated to other cars typically “expecting” me to give way. As a rule, I followed “Tonnage Law” and always let busses and other large vehicles win. Your mileage may vary depending on how well you can play chicken with oncoming traffic.
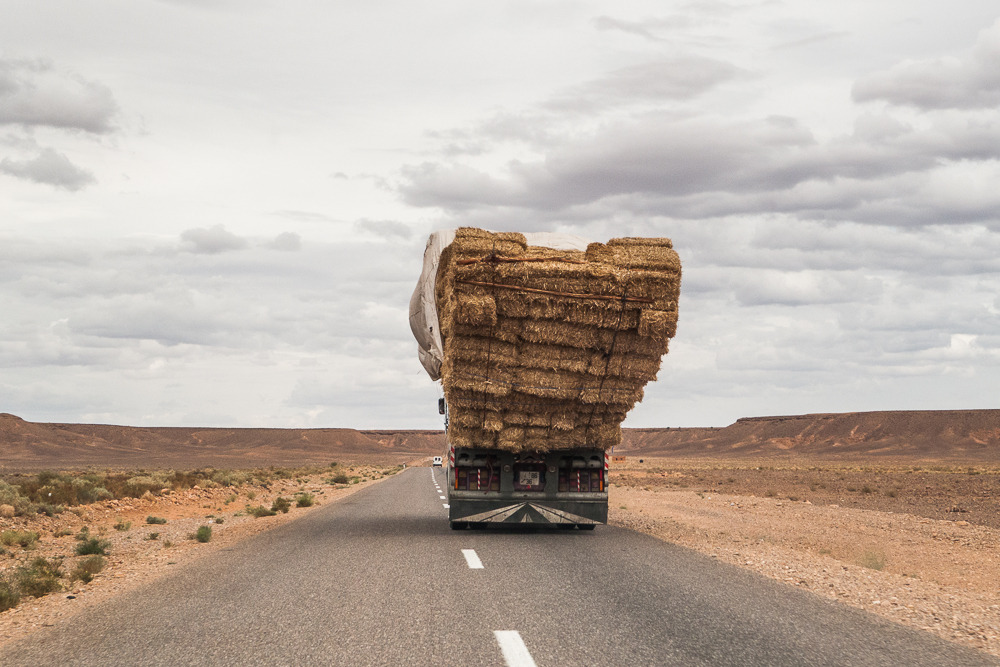
When driving in cities the key to safe driving is predictability. Watch for people crossing but be slow, predictable, and persistent in how you pass or navigate through traffic. Even the major highways in Morocco pass through small towns where speeds drop. Here you should expect people, children, livestock, and virtually anything else you can think of on the road. Moroccans aren’t stupid and they do generally get out of the way, but people always come first and even large trucks will brake for pedestrians and donkey carts.
Navigation
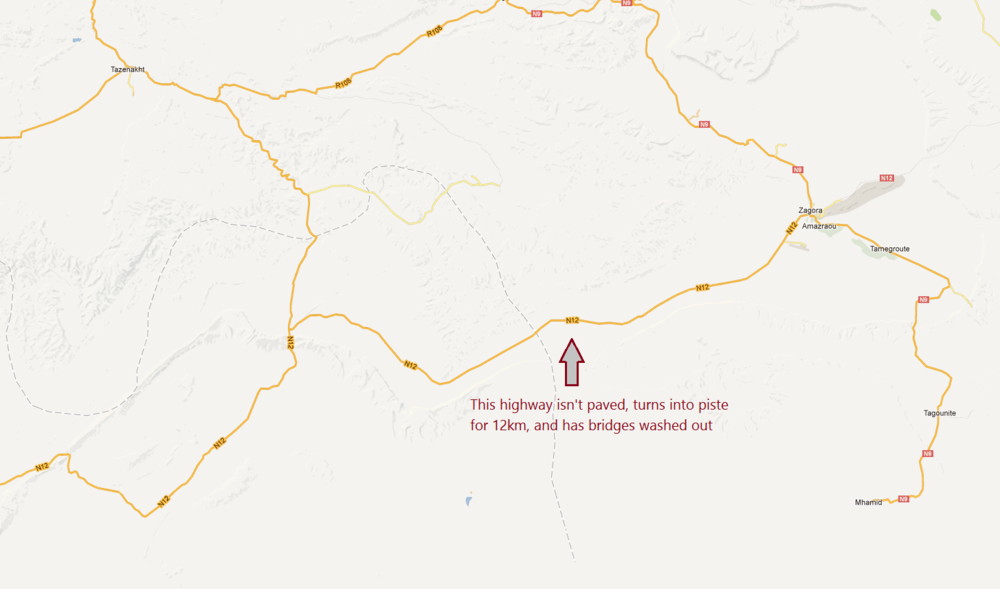
While you’re enjoying your tour around Morocco, be sure to get a copy of the latest Michelin map. We also used a GPS loaded up with offline maps. We simply cached the map for our route on our phone mapping app on a daily basis. Do note that relying on these online mapping services (Google, Bing) got us into trouble in one instance between Zagora and Tata. Rely on reputable paper maps and ask locals about the conditions before you go.
Major towns can be a nightmare to navigate because of the mass of confusion on the roads. Don’t expect to be able to navigate by looking at a map, identifying roads, and then following signs. You’ll want a navigator with a good sense of direction and some great dead reckoning skills.
In any event, don’t strictly rely on road signs to help you navigate. Most major highways have good markings, but those too may disappear. For example, following the N9 through Ouarzazate we needed to make our way towards Dades Gorge on the N10. At one point the road came to a major fork with no signs whatsoever. Our phone’s GPS easily confirmed that we were on the correct road without incurring us significant detours.
Signs and Signals
When driving in Morocco, there are a couple handy things to know that we had to figure out. First, honking the horn is not a rude gesture as it is in North America. At stop lights, it is customary for the first car in the line to be too close to the light to actually see it change. Often, cars further back will honk to let this driver know the light has turned to green. Honking is also a way of alerting others to your presence as when passing.
When driving on Moroccan highways, you may notice other cars flashing their lights at you. In almost all cases this marked a police checkpoint or speed trap of some sort. Typically these checkpoints don’t stop tourists and pass them through. However, do return the courtesy to drivers coming in the other direction.
Road Rules
Speed limits should be taken seriously in Morocco, even though you will see just about every local breaking the speed limits liberally. In general, police do discriminate against tourist more when it comes to speeding and if you’re caught you should expect a ticket. While it may be tempting to follow that Land Cruiser that’s doing 140 kph (even in towns or places where the limit is 60kph) on its way to Merzouga, do so at your peril.
Seatbelts are required by Moroccan law for any driver or passenger in a private vehicle (but not in Grand Taxis). Not wearing a seatbelt can get you in trouble and will cause you to be stopped at any police checkpoint. Ensure when you pick up your rental car that all seatbelts are functioning correctly (the fine is far greater if there is an equipment problem) and also ensure that all passengers are wearing belts.
If you do get stopped, the police will fine you on the spot. Fines can be large but it may be possible to come to an “agreement” on the fine if you want to try your hand at bargaining.
Washes
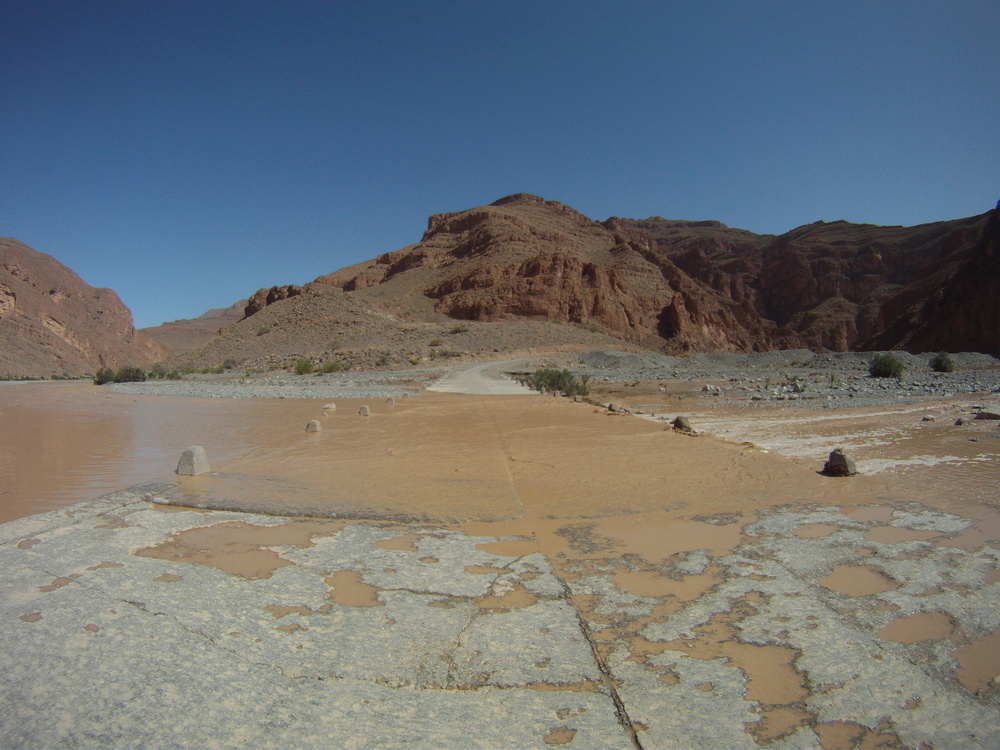
When driving in the desert and in the canyons, you’ll drive across many river washes. More likely than not these are dry. However, we received some relatively heavy rain around the Todra and Dades Gorges which caused some of these washes to fill.
Each wash is generally carefully made and you should be able to tell at a glance if it is crossable or not. On either side of the road are concrete markers to indicate both the road edge and the depth of the water. The markers are only about 18 inches tall and if you can clearly see them then you should easily be able to cross the wash in all but the lowest clearance rental cars. If the water is running up to the colored portion of the markers, then you should probably walk the wash crossing to verify that you can make it.
We crossed at least a dozen such flooded washes up the Todra Gorge. Despite some of them looking somewhat challenging, our Dacia Logan crossed them all with ease.
Driving in the Desert
Rental car agreements are quite explicit in their legalese about not driving across stony desert. However, around Merzouga you may need to venture off the paved road to reach your accommodation. Non-paved “roads” around this area are generally well marked and clear, however they may have significant washboard which will lower your speed to a crawl.
Other than the bumps, we found these roads to be perfectly “safe” for travel in the Logan despite our initial fears. Drive at speeds that are reasonable for the conditions and watch for rocky areas where you should slow down to ensure you don’t puncture a tire.
Other Skullduggery
There were at least two specific types of attempts to get us to stop in our travels. The first involved a car on the side of the road with its hood up. One of the people jumped out in front of us and tried to flag us down and stop us, which he didn’t do for the car immediately in front of us (a local). We didn’t stop, but this is apparently a common scam to try and lure you to a carpet shop and put a hard sell on you. The old adage applies, don’t pick up strangers, no matter what you might think. In virtually all areas we travelled there was enough traffic to ensure a Moroccan could make it to safety without needing our assistance.
The other attempt was to get us to buy goods at a roadside vendor. In this case the man literally jumped in front of the car and tried to stop us. I maintained speed and he quickly realized he should move out of the way. I’d recommend the same to anyone else in a similar situation. This man had no intention of getting run down but the tactic likely works more often than not because people are afraid.
Returning Your Rental Car
One quick note here about returning your rental car. We returned our car immediately after coming from Essaouira where the car got incredibly dirty from the salt spray. The car rental agency wanted to charge me for washing the car. I was able to avoid paying for this “service” since the car had more gas in it than when I started. But anyone renting should keep a close eye on the rental contract and ensure they don’t pay for silliness like this unless it’s explicitly called out in the rental agreement.
Summary
We had a blast driving around Morocco in our Dacia Logan. There were some long driving days, but at no point did I ever really feel like driving in Morocco was dangerous. Having our own car allowed us to explore places few tour busses ever go and to slow down and change our itinerary as needed. Most importantly we were able to stop as we desired to take pictures and explore places most other tourists don’t.
19
2012T
he Berber people have been in Morocco for centuries. They make up roughly 60% of the nation and you can find Berber spoken in a large part of the country. In various parts of the country, it’s still not uncommon to see Berber people continuing to live nomadically. These families tend their herds and stay in large tents made of camel wool blankets. It’s an incredible sight to see and we were fortunate to be able to hike into the back country and experience this extraordinary part of Morocco.
This wasn’t part of our original plan when we drove up and stayed at the Kasbah Les Amis. We knew there was hiking in the area and we’d fully intended to hike around the gorge itself to see the dramatic rift in the landscape. It’s a popular tourist destination and there’s a full-fledged parking lot near the trail head where people make the ascent to the top of the gorge. However, our gracious host Mohammed (who’s Berber himself) suggested that we might instead take a couple hour hike right out the back of the Kasbah and up to the plateau behind Tamtatouche where we could wander freely and see the nomadic Berber people who lived near the town.
Anne and I made the short hike up to the plateau and very quickly ran into our first nomadic family. They’d just finished rounding up their herd of goats and were separating the yearling goats from the rest of the herd by putting them into a small rock corral. We smiled politely, made a short visit, and continued to make our way out further into the plateau. As we neared the midway point between the first camp and the next, we heard what sounded like a baby goat crying in a nearby wash. I made my way over to try and find the animal and came across what was a virtually new born goat with the umbilical cord still hanging from its belly. The goat apparently bonded with me and next thing I knew I had a little companion!
[wpvideo APpIpaKU]
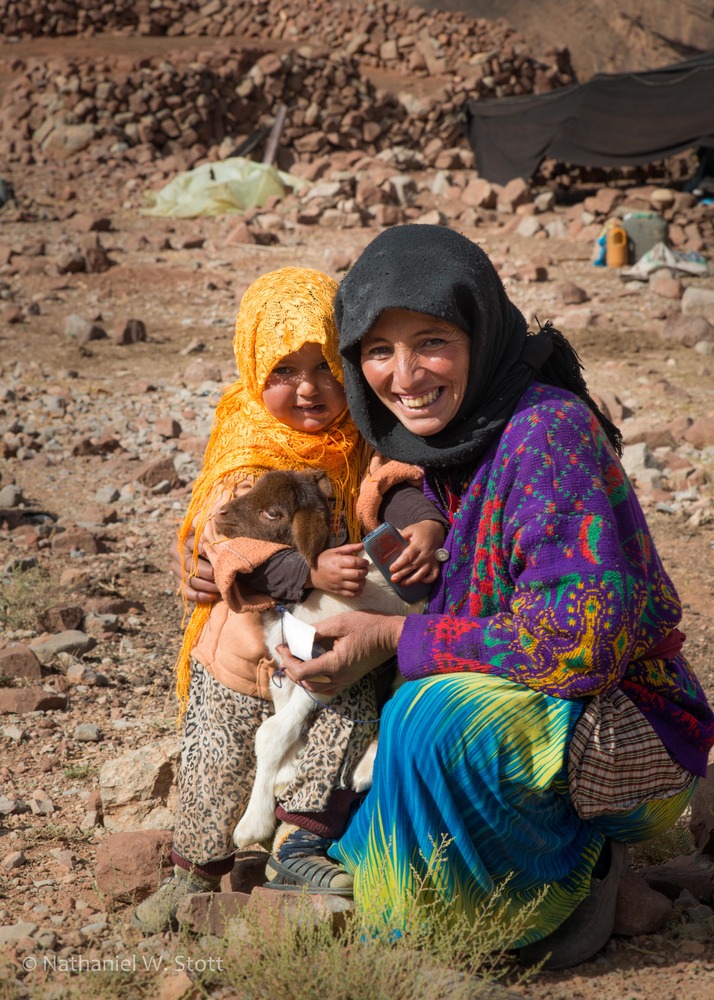
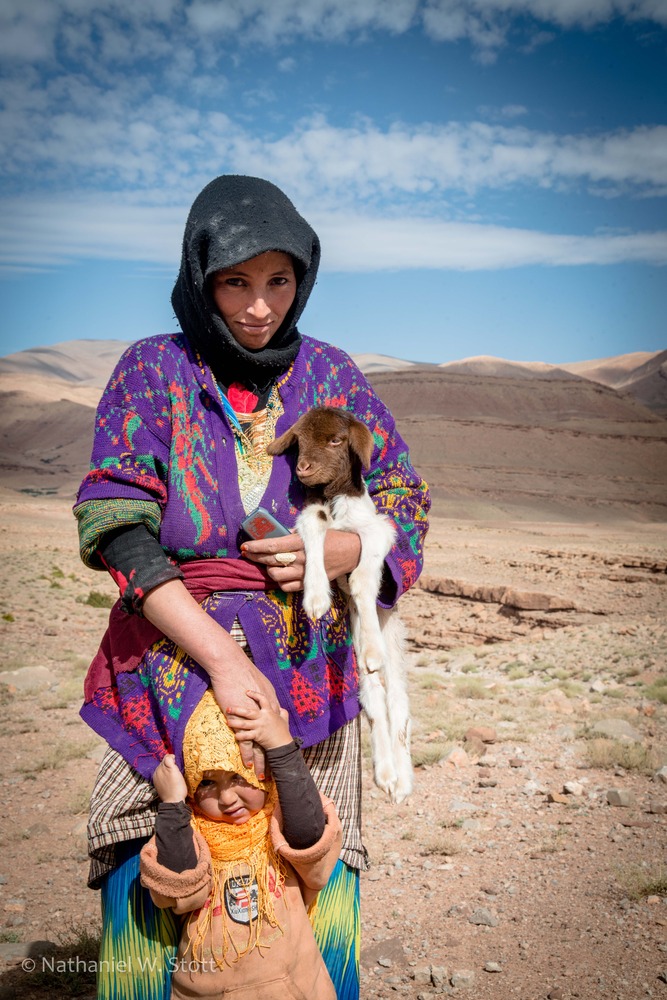
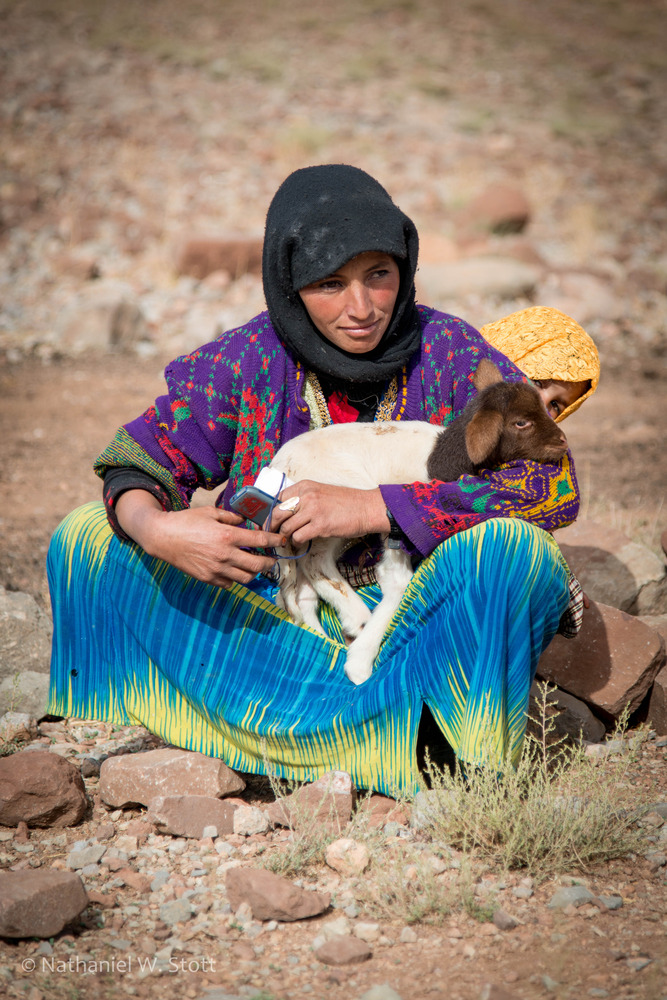
We decided to continue heading to the next camp where we would introduce ourselves and hand the baby goat over. As we reached the next tent we were greeted by a woman and her daughter. The woman was dressed in colorful clothing and scarfs and was stunning in her appearance. It was hard to think we hadn’t been made part of a National Geographic article. Communication was impossible since we didn’t speak Berber and she didn’t speak French (or English). However, we smiled and were able to take some pictures of her and her camp.
While the Nomadic people may live simply, it’s not to say they live without certain 21st century conveniences. Most striking to Anne and myself was the fact that this woman was carrying a Nokia cell phone. While we never did determine precisely how she charged it (we’re assuming a solar charger), it’s proof positive that technology is embedding itself in even the most remote cultures.
Unfortunately, our time was limited and we had to return to the Kasbah before we could do more hiking or see other camps. That said, our visit to the nomadic camps are some of our fondest memories of the trip and I regret not having had more time to spend exploring both the landscape and the unique culture.
14
2012
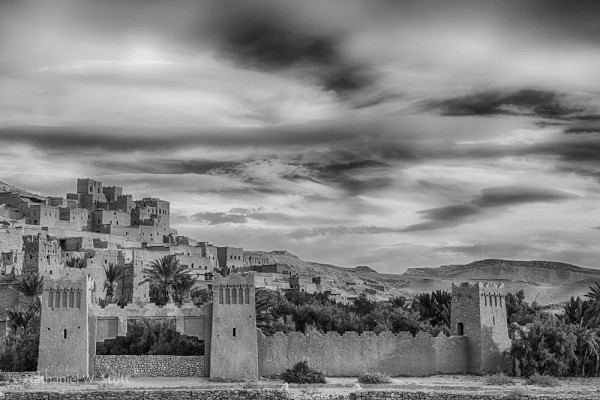
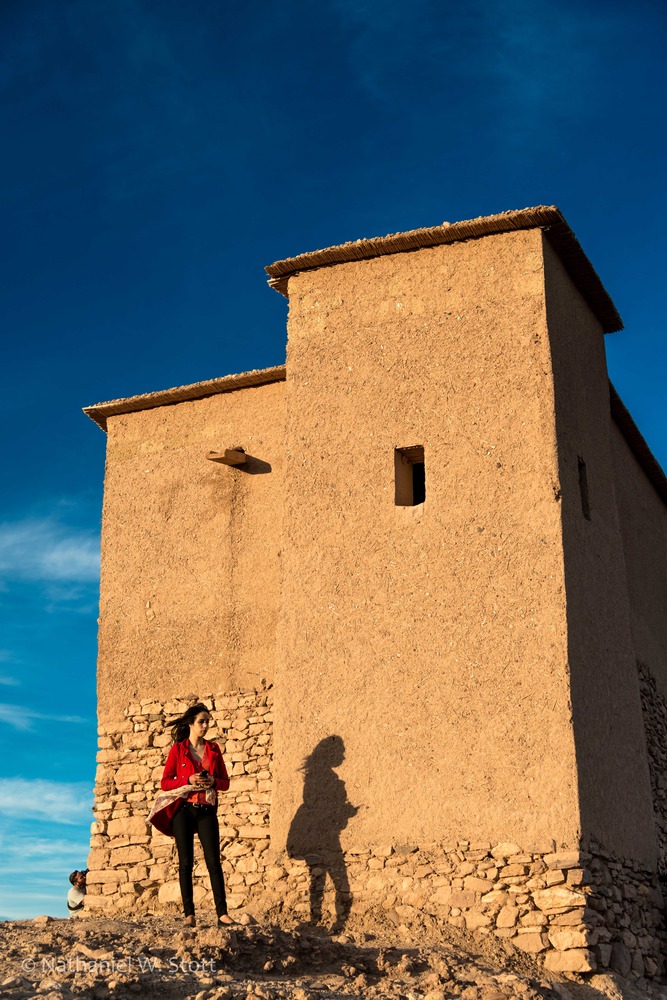
Ait Ben Haddou is a worthy stop on the way to the Draa valley or Merzouga, and we found that having a night and morning to spend wandering the kasbah was an excellent break as we made our way towards Merzouga. Honestly, anyone who tells you that you should do Marrakech/Erg Chebbi/Marrakech in 3 days is quite literally insane unless you want to run yourself ragged and deprive yourself of some of the best of what Morocco has to offer.
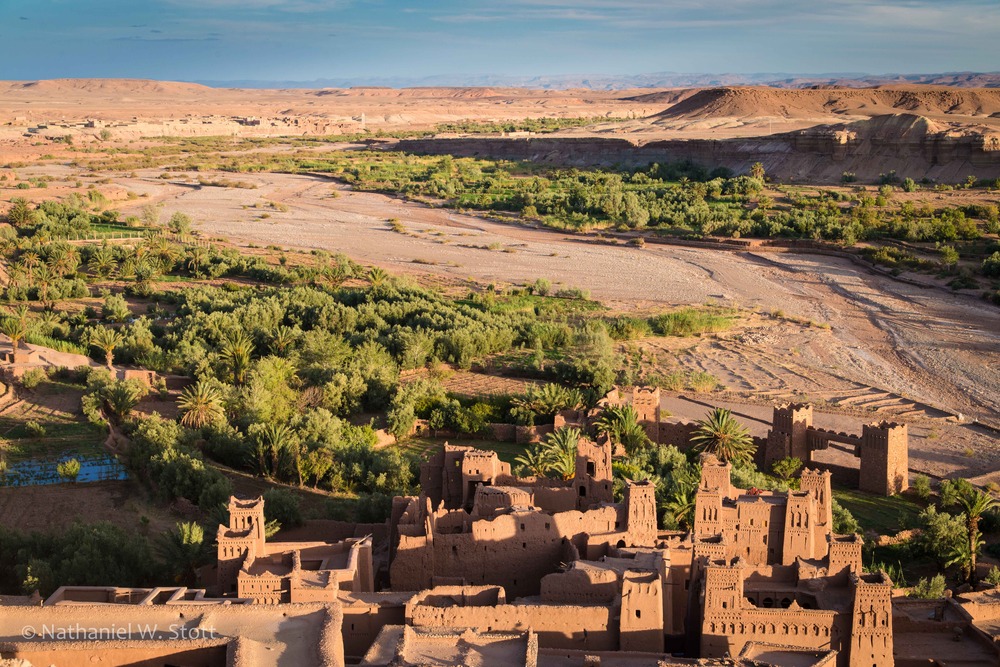
We got to Ait Ben Haddou late in the day so we didn’t have a lot of time to scope the place out. Our first stop was an overlook on the approach road into town. It offers some fine views over the river basin and kasbah complex that’s featured pretty well in this short from Cadillac challenging the world to a driving contest:
Anne and I didn’t stay long at the overlook because our primary interest was really in getting into the kasbah and taking in the sights and details that make places like this so incredibly interesting. There are two ways to enter the kasbah (at least at the time of our visit): You can park your car at a managed car park (and pay for the pleasure) and walk across the dry river bed or you can park at your hotel (likely free) and navigate a back road in town north of the paid car park to the bridge over the river. This offers a free back road into the kasbah along a nice set of vendor stalls.
We weren’t able to spend the time we wanted exploring around the winding passageways of the kasbah because sunset was pretty near at hand. So we headed immediately to the top of the hill to get a better look at the surrounding countryside and take in the views.
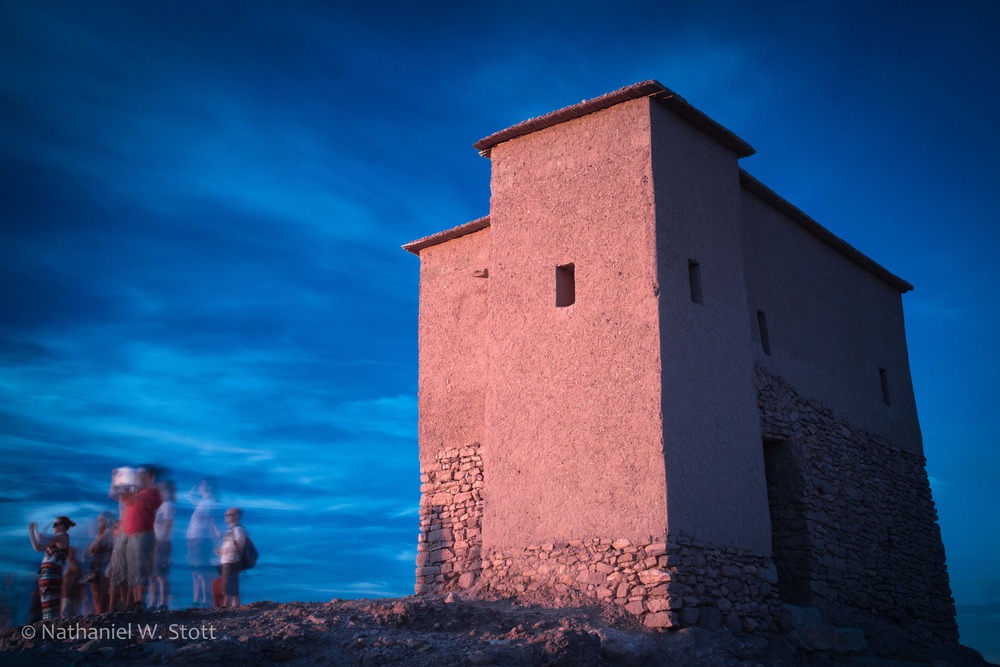
The agadir at the top of the hill proved to be an excellent location for watching sunset. Bring a headlight, bring a tripod, and enjoy the lush and spectacular scenery as the sun sinks to the horizon and the clouds light up with vibrant colors. Also remember that while the sunset is impressive, look around for things that might be happening behind or around. I was trying to capture some longer exposure images of the clouds moving over the building but wound up getting some nicely ethereal images of the tourists with rich warm tones on the building. The Photoshop trickery here was actually in getting it to look less surreal!
By the time we were ready to leave, we had the place to ourselves and were enjoying the serenity of night in the desert. We didn’t see any movie stars, but it was just as well since they would have restricted access anyway.
11
2012A
nne and I’ve done travel to Asia for a couple years now in a row and we finally decided it was high time to visit Africa. As a continent, neither of us had been there before and it was a major draw as a destination for obvious geographic “I’ve been there” reasons. More than that, Morocco has been high on our list for a while and this year the season and airfares lined up to make the trip a go. The geography of Morocco along with the culture made the choice an easy one, even though at the start we weren’t sure whether or not we’d be able to do some serious trekking because of my intermittent knee issues. In planning the trip, we decided to err on the side of photography with some limited hiking.
Our itinerary was pretty basic, all we really knew was that we were going to start and end in Marrakech and visit the gorges and desert in the middle. We started our Morocco vacation in Marrakech, which was a good central point from which to rent a car and explore the rest of the country.
Getting to the Medina
There seem to be various approches for tourists trying to make their way from the airport to the medina. For the first timer, I’d highly recommend booking a transfer through your hotel. It’ll be more expensive than a tourist bus (about 30Dh) but will be roughly on par with a “taxi” which will probably run you north of 100Dh unless you know how to bargain. It also has the profound benefit of showing you how to get to your hotel without consulting maps and enduring the hassle that comes with it. There is a tourist bus that will take people from the curb outside the airport to the west entrance to the Djemaa El’Fna for 30Dh. While we never took the bus, it’s a nice air conditioned affair that looks to have plenty of room for luggage and the like. The final trick you can use, which we did with success, is the use the tourist bus price as a lever to inform taxi pricing. As you walk towards the bus the taxi drivers will try and convince you to take their ride. Insist on the 30Dh price per person and you make get a deal.
Sights and Sounds of Marrakech
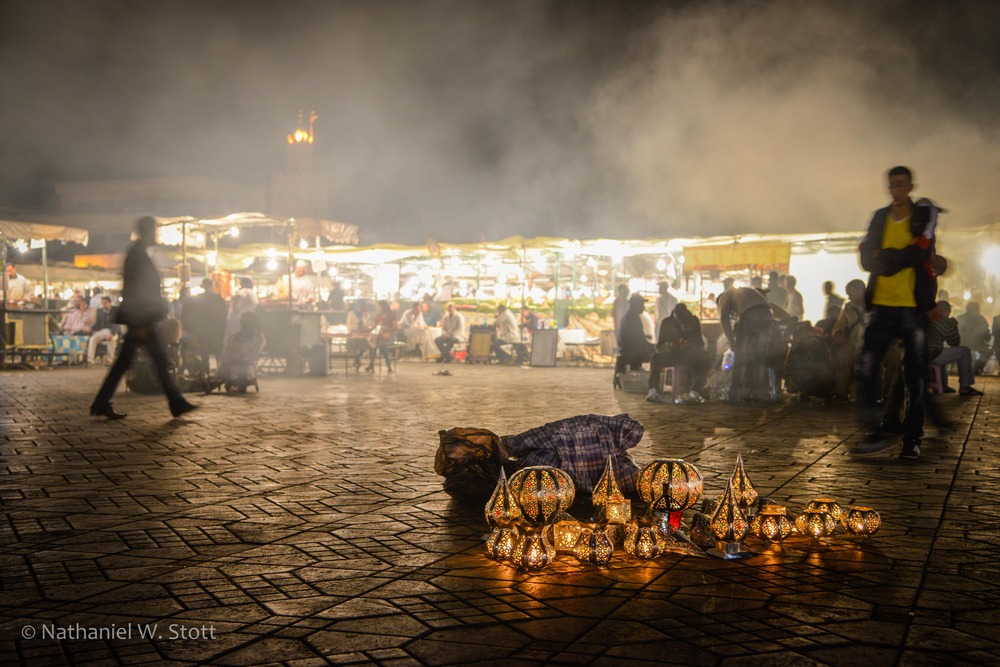
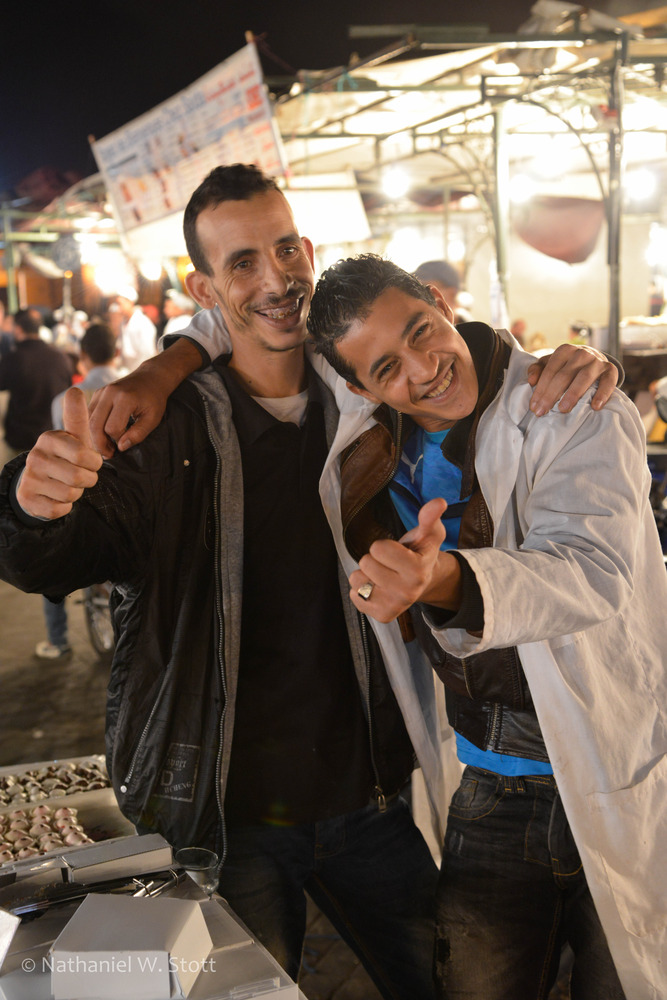
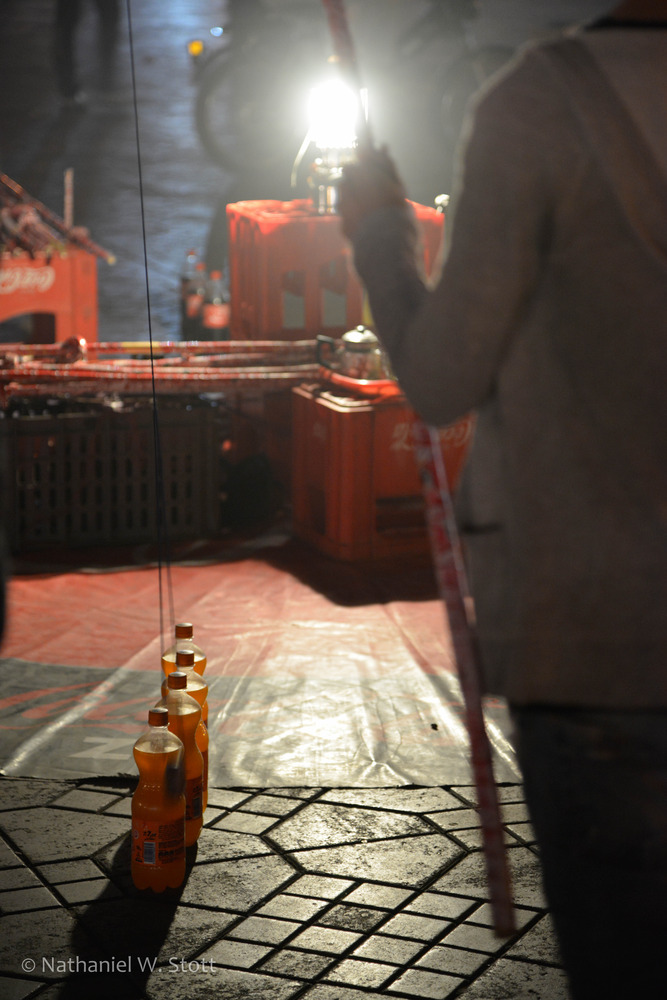
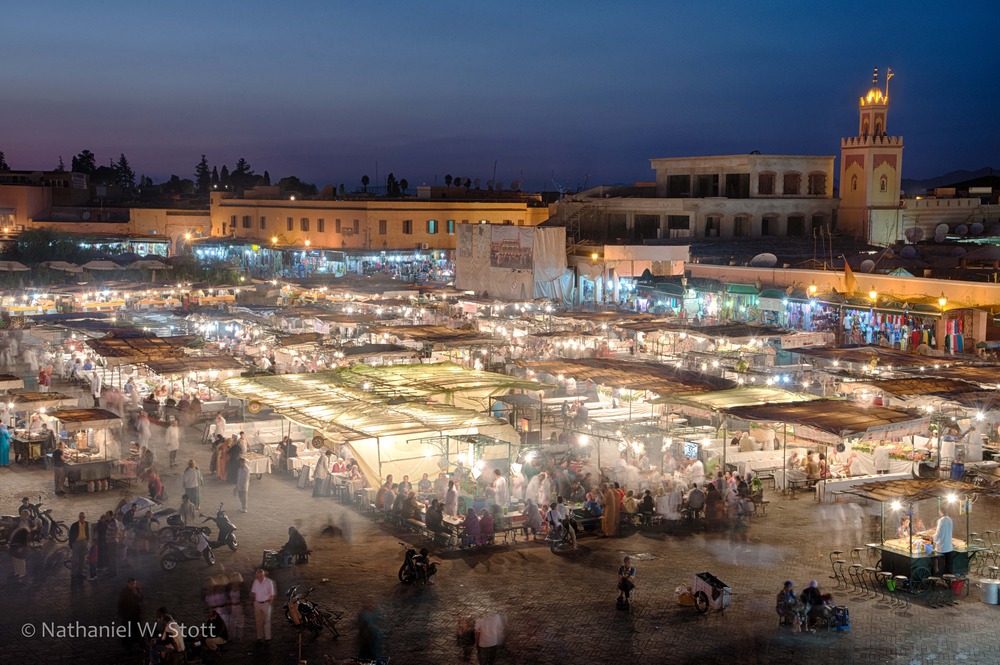
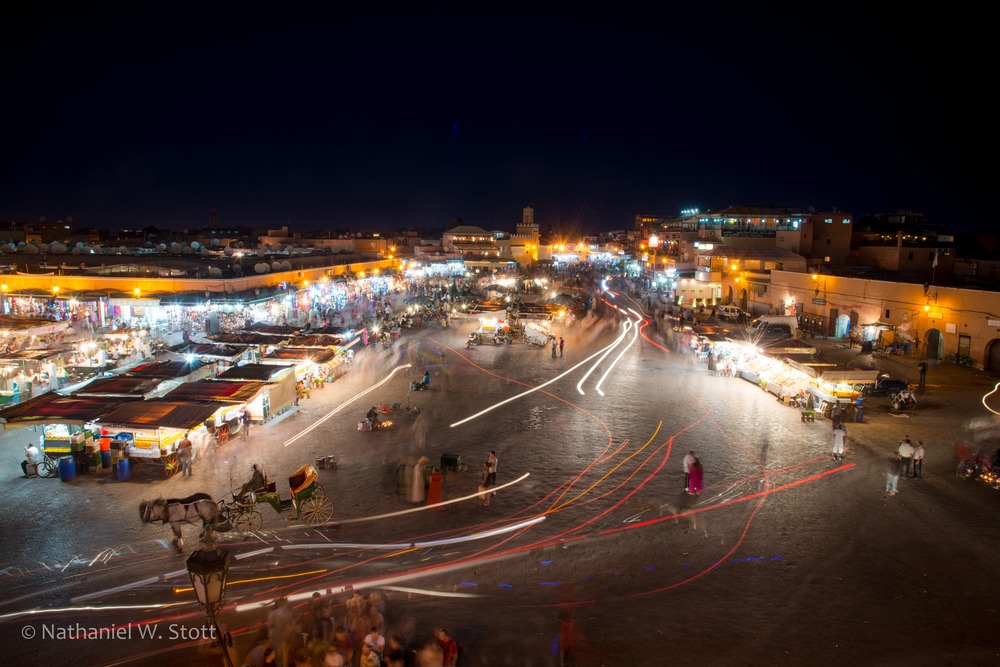
We were fortunate to book a hotel (Hotel Du Trésor) that was quite close to the Djemaa El’Fna (the main square in the heart of the medina).This square is a UNESCO world heritage site and is quite simply a cultural mecca that’s not to be missed. Each and every night, vendors set up a sea of food stalls and performers come out to put on a good show. Come early, eat, and stay late to take in the sights, sounds, and smells of an event that’s been playing itself out nightly for the last 1000 years.
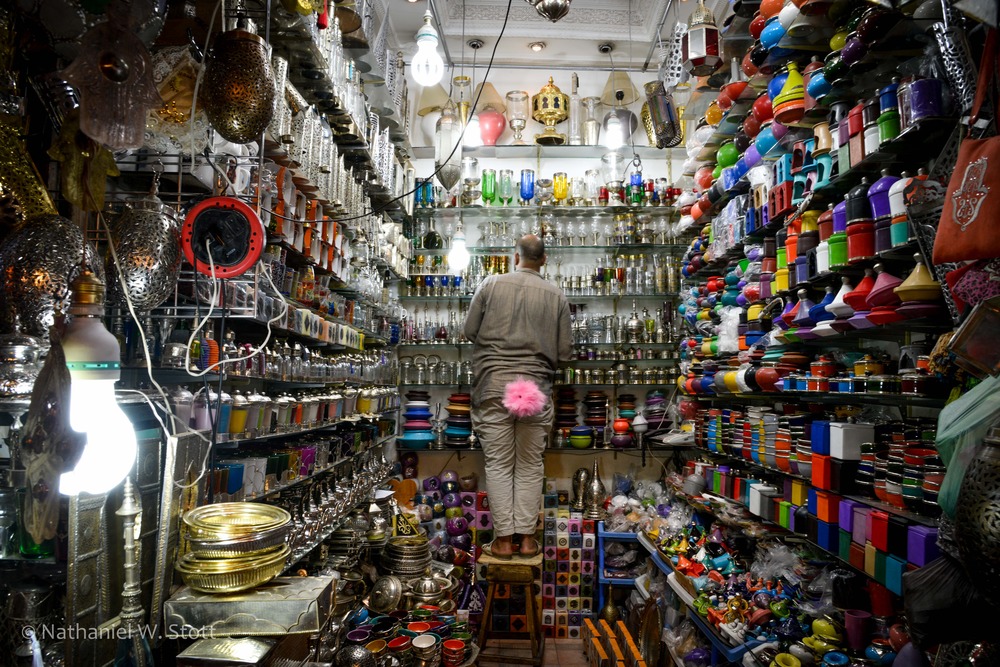
The Djemaa El’Fna is also the southern entrance to the narrow and winding souks where vendors of all types sell their wares. A good map is handy but virtually worthless since there are no street signs to inform you of your whereabouts. Navigation is strictly dead reckoning or by GPS (for those of you with good signal). The souks are roughly divided into sections where different types of goods are sold, however this is more of a guideline than a rule. The shops nearer to the main square are more expensive than those further away, so pick your store carefully. Locals tend to shop at stores well removed from the buzz of the tourists, and you can get better prices if you take the time to take yourself further afield. Plus, you’ll get a more local experience.
Photographic Considerations in Marrakech
Specific tourist attractions are realtively few in the town though we did our best to hit the highlights from the Lonely Planet guide. Photographically, the main square was an incredible canvas of people, textures, and performance. We found ourselves coming back to the Djemaa El’Fna time and time again. About 30 minutes before sunset is the time to start setting up, and you’ll find good overview photography at any of the surrounding restaurant terraces. However we thought the Panoramic Terrase on the southeast side of the square was the best in terms of angles and ease of access.
We found the Bahia Palace to be perhaps the best example of typical Moroccan architecture and offered a wealth of great photography as well as an awesome insight into how the architecture afforded comfort in such a hot climate. I’d call the Palace a must.
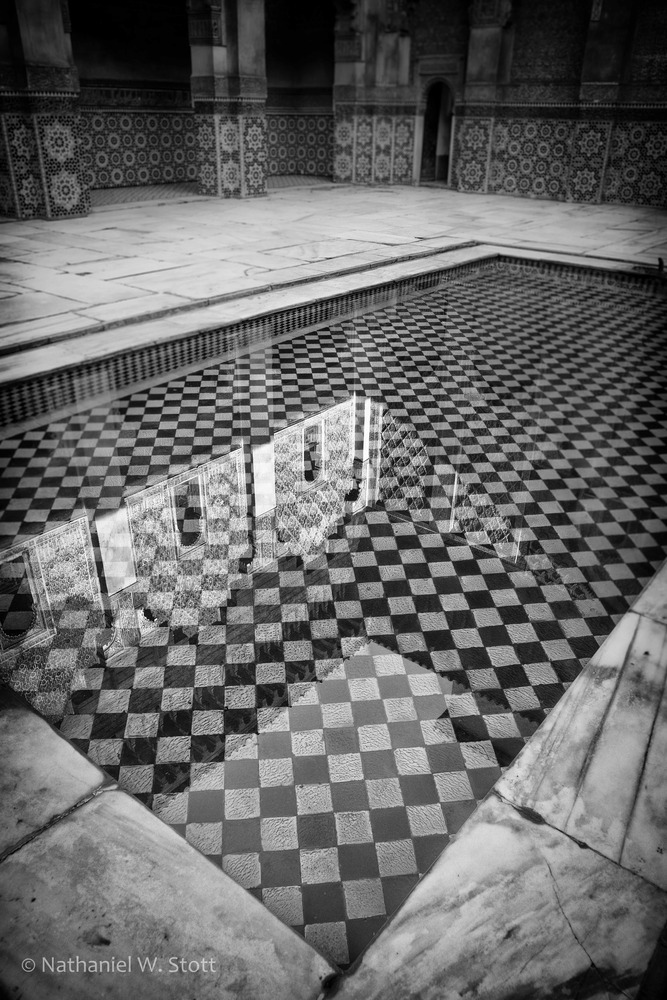
Also a must is the Ali ben Youssef Medersa. The medersa (school) is built primarily around a large courtyard and shows off lots of intricate carvings and tilework.
You can also wander into the former living areas of the school which offer insight into how the student lived and studied.
Other sights, such as the Dar Si Said, the Badi Palace, and the Saadian Tombs we found to be culturally interesting more so than photographically.
More than any specific attraction, Anne and I also found ourselfs drawn to the narrow passages of the medina.
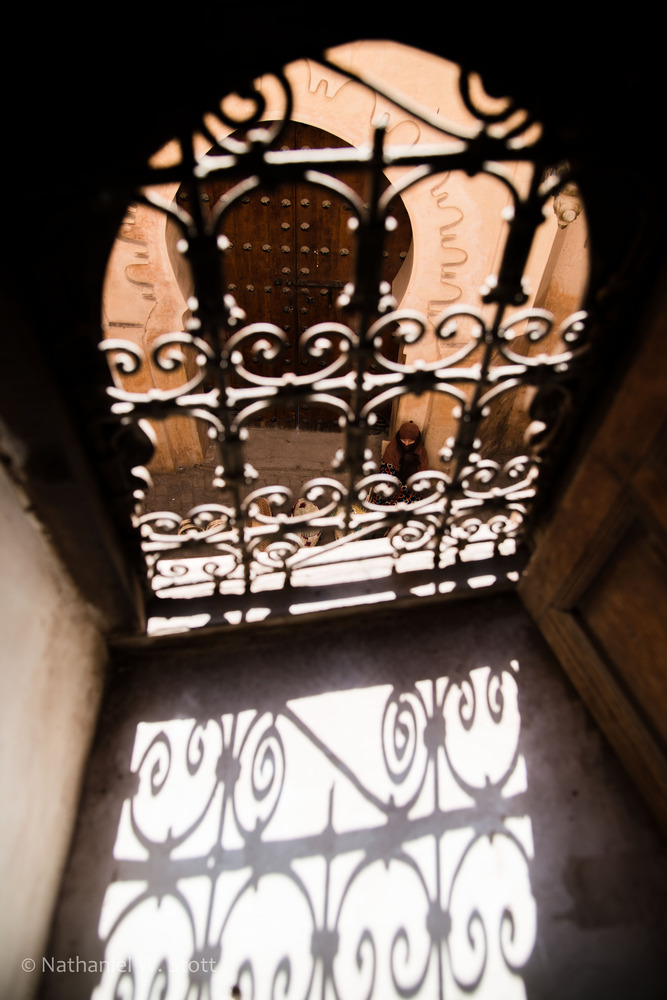
There’s an infinite canvas of doorways and passages that can keep the astute photographer busy for days. These can be photographed at virtually any time of day given the narrow passages and the generally indirect light.
19
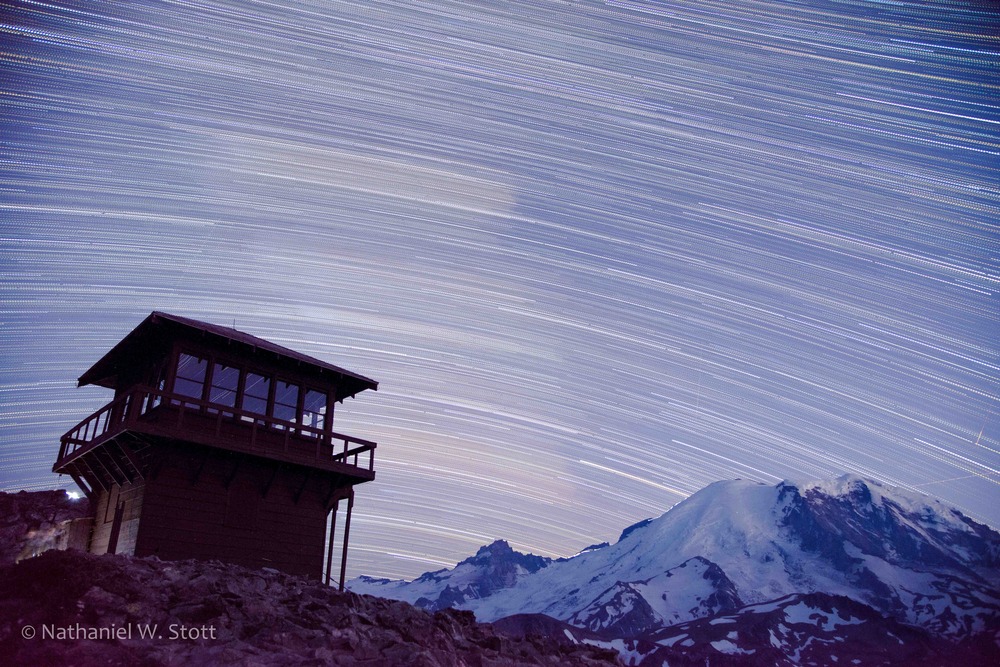
2012Anne and I talked about a few different places to go. Eastern Washington was a prime candidate, given the very high likelihood of clear skies. We discussed Vantage specifically because we thought the rock formations around the “Feathers” might provide a pretty awesome foreground element to the images we had in mind. We also discussed heading to Sunrise at Mt. Rainier since there is a relatively easy hike to Fremont Lookout that would also make for an interesting foreground. I’d seen night shots of fire lookouts before and been captivated by the internal illumination and how it gave a sense of warmth to the image so Fremont Lookout really peaked my interest.
Mt. Rainier was a great candidate, but we also wanted to make sure we didn’t run afoul of the regulations National Parks have for being out overnight (which was a real likelihood). I called the ranger station and asked about the situation, explaining that we intended to be out well past dark taking pictures. It appears that this sort of thing is a “gray area” in the rules. Technically, you can hike at any time in the park. However, you can only “camp” in designated spots and for that you needed a permit. As long as we didn’t “camp” we were fine. Information and location in hand, we made some quick preparations and set off Saturday around 3pm for Mt. Rainier.
We got to Sunrise and started hiking around 5:30pm or so. Our packs were pretty heavy since we had camera gear, food, water, and warm clothing. Camera gear was the bulk of the weight. I brought two cameras, two tripods, and other assorted gear since I wanted to set up for two angles on the lookout. The hike itself was relatively short with the bulk of the uphill happening right out of the parking lot. It had been a scorcher of a day but fortunately the altitude combined with the hour had caused some of the heat to abate. So we arrived in good time to the lookout, greeted the clouds of mosquitos, and sat down to dinner.
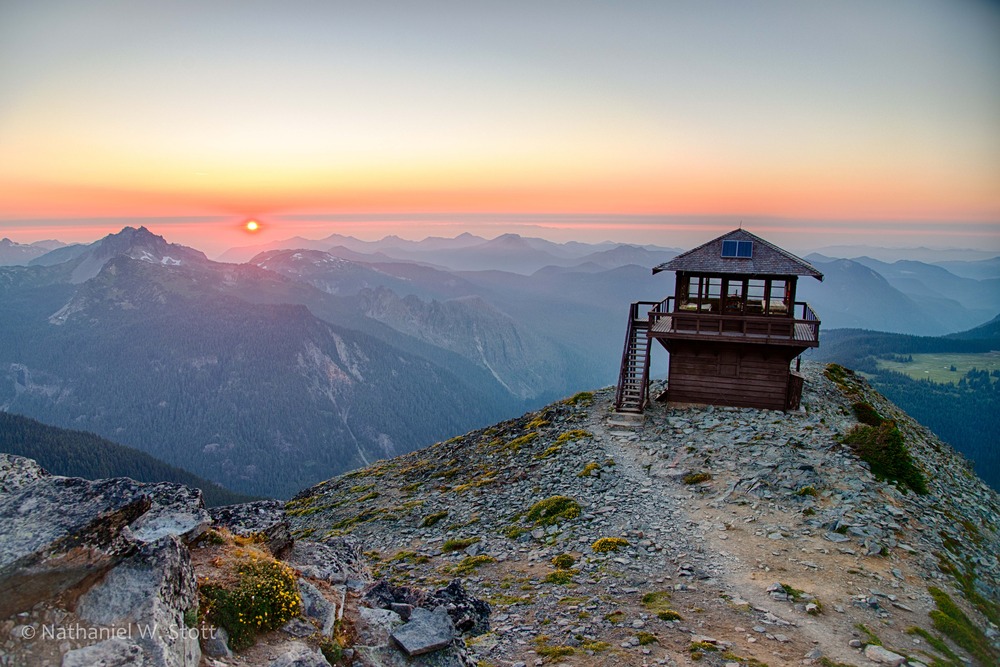
Cliff Mass has been reporting on the Asian wildfires that have led to a reduction in air quality over the Northwest. As we drove to Rainier earlier in the evening, we’d seen the impact in air quality. However, that dense layer also lead to a relatively stunning sunset which we enjoyed completely.
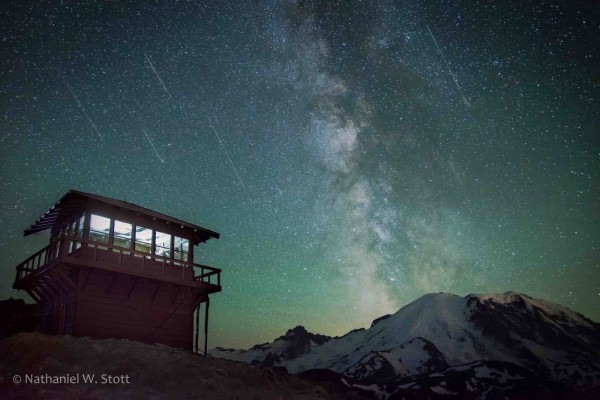
It wasn’t long before dark overtook the light and we started seeing the first of what would be many meteors to pass. The Perseids emanate from the northeast out of the constellation Perseus. So that was the direction we started looking. However, it quickly became apparent that most of the meteors were falling just over Mt. Rainier which made the show almost magical. Anne and I huddled up on a thermarest, drank a little whiskey I had brought along in a flask, and watched the heavens unfold before us until just after midnight. With our batteries drained we set back to the car.
Neither of us normally hike at night. In fact, I don’t think most people hike at night. But I found the experience to be almost as magical as the meteor shower. The temperature was cool and the enormity of the space was tangible (made more so by the small bubble of light we traveled in). Somehow, it just felt perfect. As we walked we could see the occasional meteor pass above. We could also see the lights of climbers making their way up towards the summit of Rainier, a trail of luminous ants.
We got back home at 3am. We were both tired, but I wouldn’t have traded it for anything!
