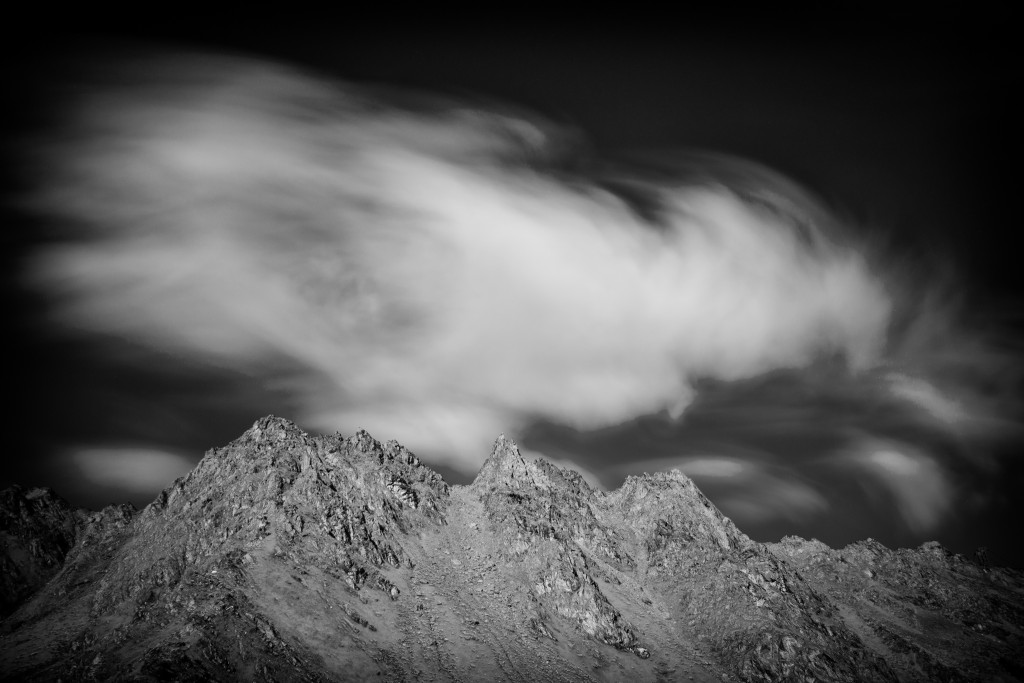
Anne had a conference in Las Vegas last week so we took the opportunity over the long weekend to visit Zion National Park and hike some canyons. Anne’s always super on top of stuff like this, and like the pro she is was able to get us permits for both the Virgin Narrows overnight as well as the Subway over the Memorial Day weekend. Pretty amazing!
Virgin Narrows
We organized transportation with the Zion Adventure Company to drop us off at Chamberlin Ranch. There’s at least one other company that does hiking shuttles to the ranch, but ZAC allowed us to cancel our reservation if weather turned bad, which we preferred given the advanced scheduling we were doing. ZAC also provides rentals on gear like Five Ten Canyoneer shoes and things like dry pants. While Anne didn’t wind up renting a pair of shoes, we both opted for a pair of dry pants. This was for several different reasons:
- Guidance from ZAC that about 50% of hikers in the Narrows were renting pants
- Water depths were between mid-calf and mid-thigh for most people
- Water temps were around 56 degrees Fahrenheit
- Overnight/morning temperatures were relatively chilly (mid 50s or so)
- The steep walls of the canyon would likely keep the canyon in the shade
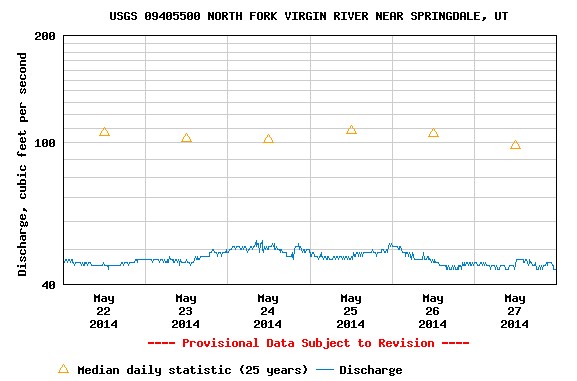
We kept a close eye on the water gauge readings, which confirmed relatively low flow and water levels. For those going on the hike, I can confirm that at the rates below the deepest the water ever got was to my waist in one particular hole. Consistent water depth was generally no deeper than my knee (I’m 5’11).

In terms of our kit, we travelled as light as we could on camping essentials to ensure we could carry our camera equipment. In favor of a hot meal, we packed two sandwiches and relied on cold breakfast of beef jerky, nuts, cheese sticks, and Clif bars. Hot tea would have been nice for the chilly morning, but wasn’t strictly necessary. For camera gear, Anne and I both carried DSLR cameras with wide angle lenses (I rented a Nikon 16-35 f4) along with tripods, long exposure filters (6 and 10 stop), and an extra battery. I also carried along a GoPro on an 18” pole for video and such. With tripods, food, water, Steripen, first aid, GPS, sleeping bag, sleeping pad, and clothing my total pack weight was somewhere around 30 pounds.
Because of our particular logistics, we weren’t able to pick our permits up the day before our hike, so we needed to book the 9h30am shuttle, which put us at the ranch around 11am. ZAC’s shuttle runs from the store just outside the park, stops at the East Rim Trail, Orderville, and finally Chamberlin Ranch. Backcountry hikers should be aware that the park asks you to put a small sticker inside your car so they can identify your vehicle should some particular emergency arise. Should you have valuables, it’s a pretty good way to spot who might be gone for a while. That said, people we talked with didn’t seem to indicate petty crime or vandalism was a problem. The shuttle was a 12 person van, which was pretty full and required backpacks to go on the roof rack.
The trail starts simply as a road meandering through the lush upper pasture of the ranch, crossing the Virgin River (at this point really just a small stream) almost immediately and then paralleling the river for a couple miles. After Bullochs Cabin, the road narrows to a path that pretty immediately joins the river for the rest of the hike.
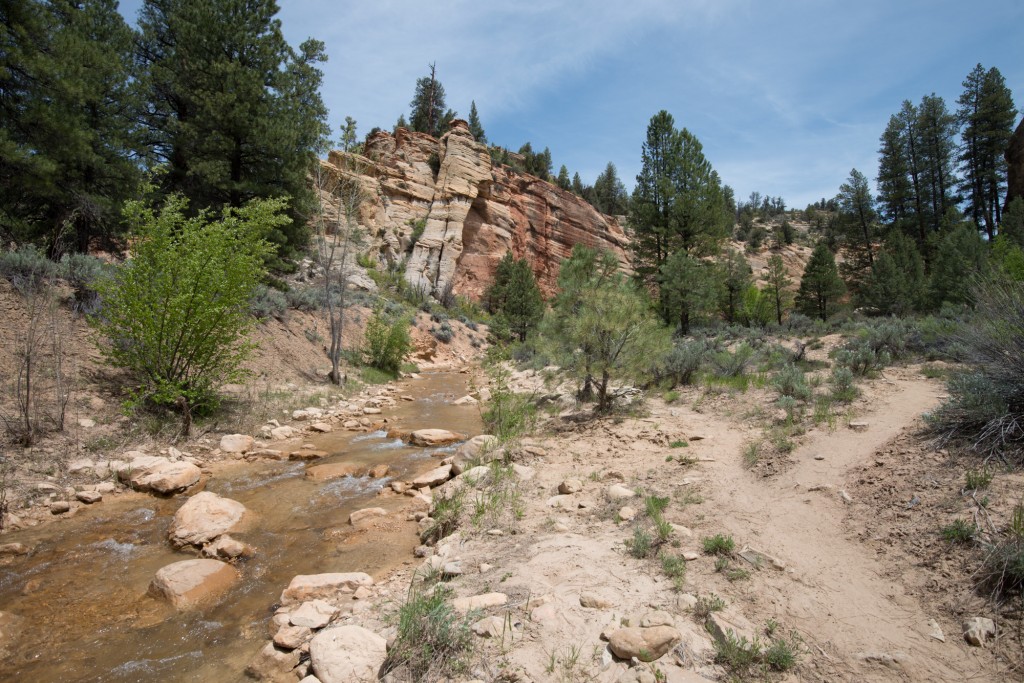
Foot paths repeatedly cross the river for the first couple miles as the valley generally narrows around the river and the walls grow larger. This part of the hike is still quite exposed to the sun and I was unhappy that I’d left my sunglasses behind mistakenly thinking that we’d be sheltered for the duration of the hike by towering canyon walls. The day was warm and so we enjoyed our frequent crossings in the water to help cool off. Water levels here were quite shallow, generally no deeper than ankle or lower calf.
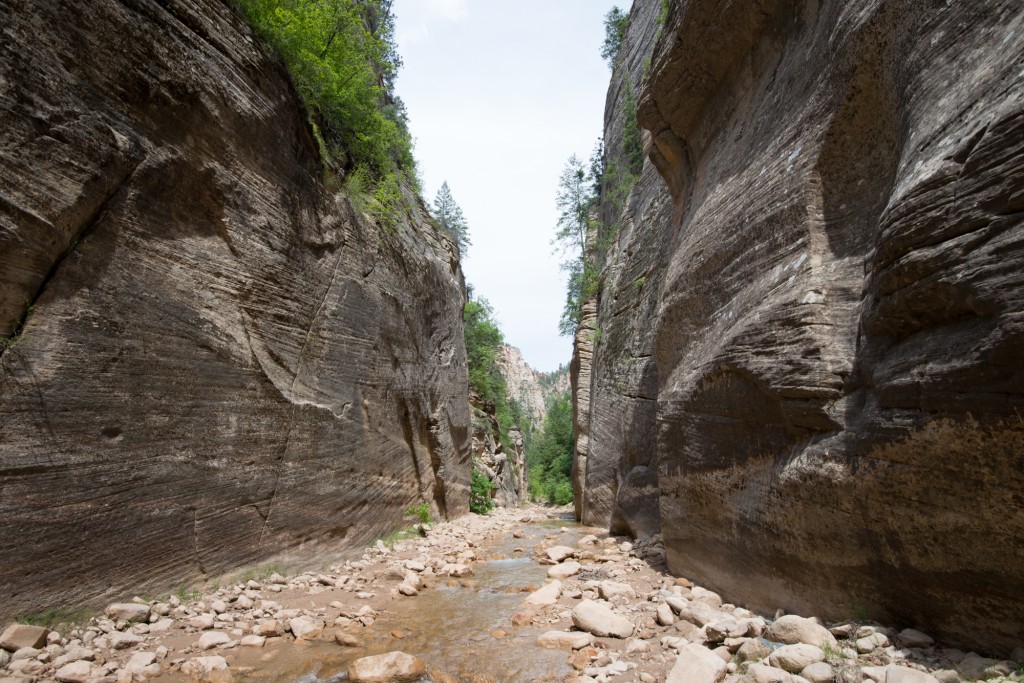
Gradually, the walls continue to narrow until you reach the upper narrows, which close around you like a proper narrows should. These are certainly fun to walk through, a little dark, and keep you in anticipation of the next corner. In short order after the narrow part of the narrows you’ll reach the falls, which can be circumnavigated on the south side (look for a small cairn on the left side of the canyon). This then leads quickly to the Deep Creek confluence, your first opportunity to filter water, and campsite #1 immediately on the left side.
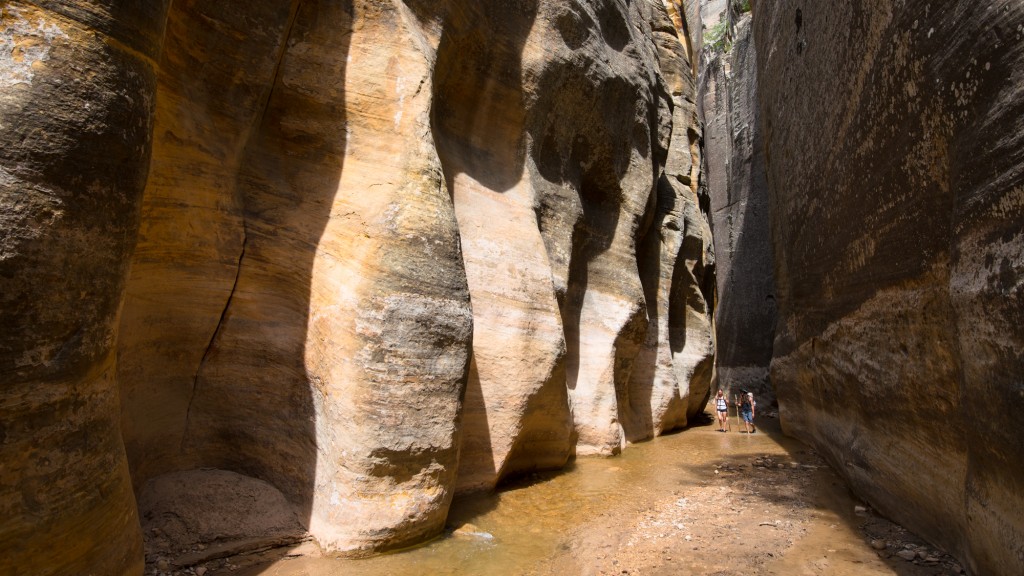
Note: The Park Service recommends only drinking water after the Deep Creek confluence because of the agricultural runoff in the upper Virgin River.
Our campsite was #5, which was almost at the confluence of Kolob Creek. Unlike as shown on the park map, site #5 is not shared with site #4, rather it’s probably a couple hundred yards downstream. Also to note, while the Kolob confluence is hidden from sight when at camp #5, it’s actually just 20 yards down river and should certainly be explored if you have the time/energy. We didn’t know and feel like we missed out. Also to note, sites 2 and 3 had some pretty awesome places to sit and chill, with makeshift benches.
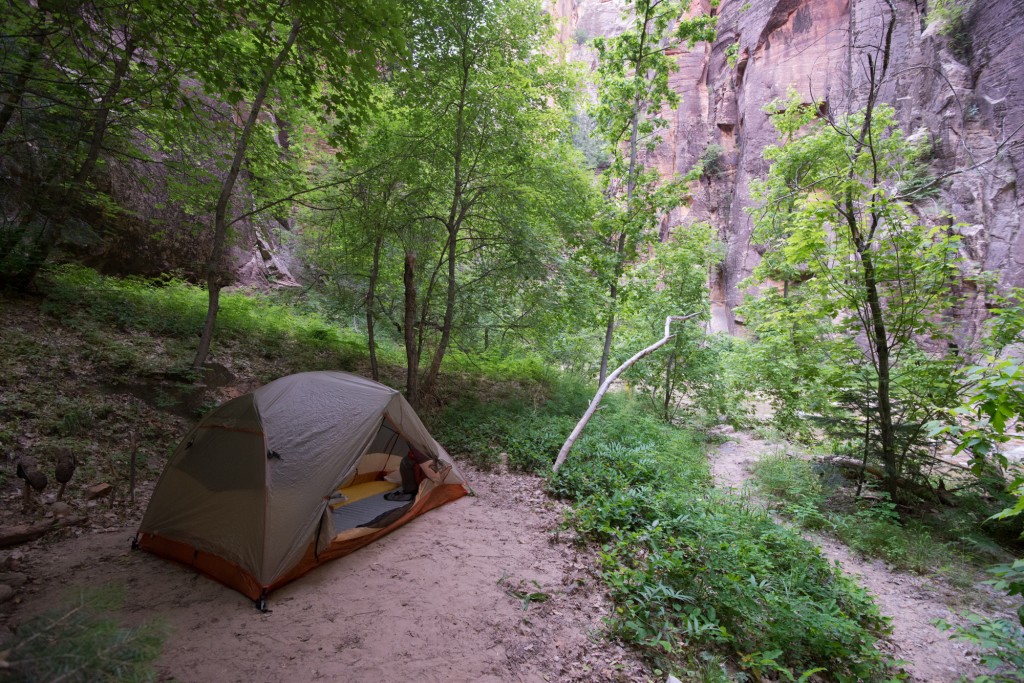
We awoke the next morning to overcast skies. The weather forecast hadn’t been superb and we knew there was a chance of afternoon showers so we moved at a pace that generally precluded taking lots of pictures. This decision was backed up in practice when it started raining on us. However, we soon started meeting day hikers coming up the Narrows from the bottom and that gave us some reinforcement that we weren’t in grave danger of being swept away by flash floods.
The primary narrows on the lower section of the trip was just above the Orderville confluence. The joining canyon is rather small and could almost be missed by hikers coming from the top. For hikers coming from the bottom, this spot marks the beginning of the short section of truly narrow narrows up to Deep Creek.
The trail at this point is pretty much in the river. Where possible, you can hike along the edges of the river course along small embankments or sometimes on well-defined paths in the flood plain. The park service advises against, and has signs to deter, hiking in higher spots along the canyon to prevent erosion. Because the path is more or less over irregular terrain, progress is generally slower than what you’d expect on a maintained trail.
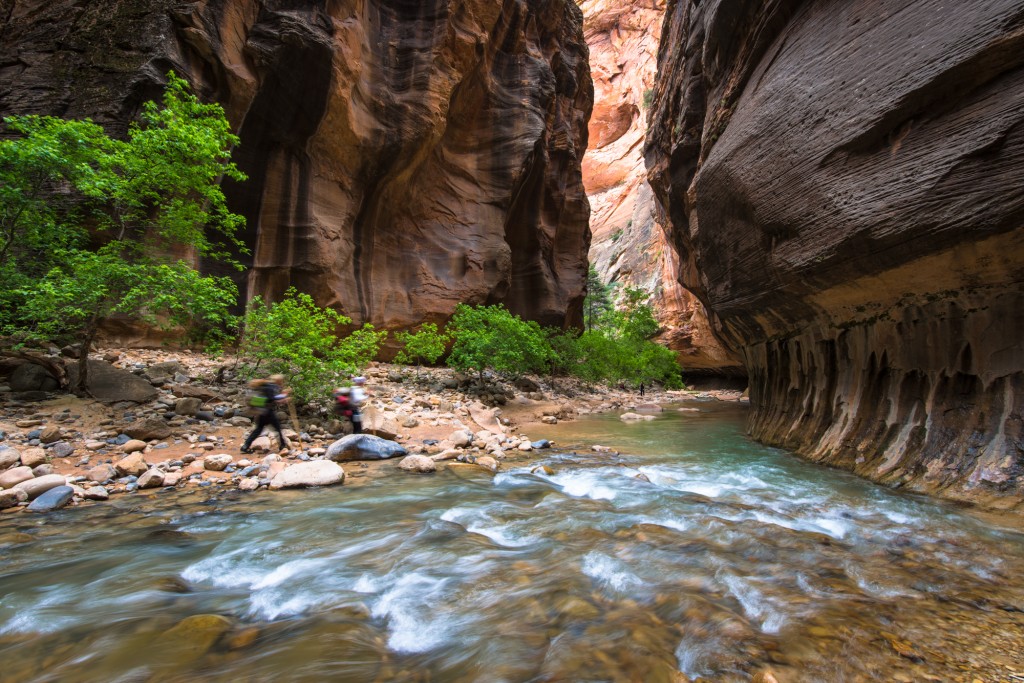
The sun did break near the end of the trip, so we broke out camera, tripods, and the rest of the equipment to capture some of the more iconic spaces in the lower narrows.
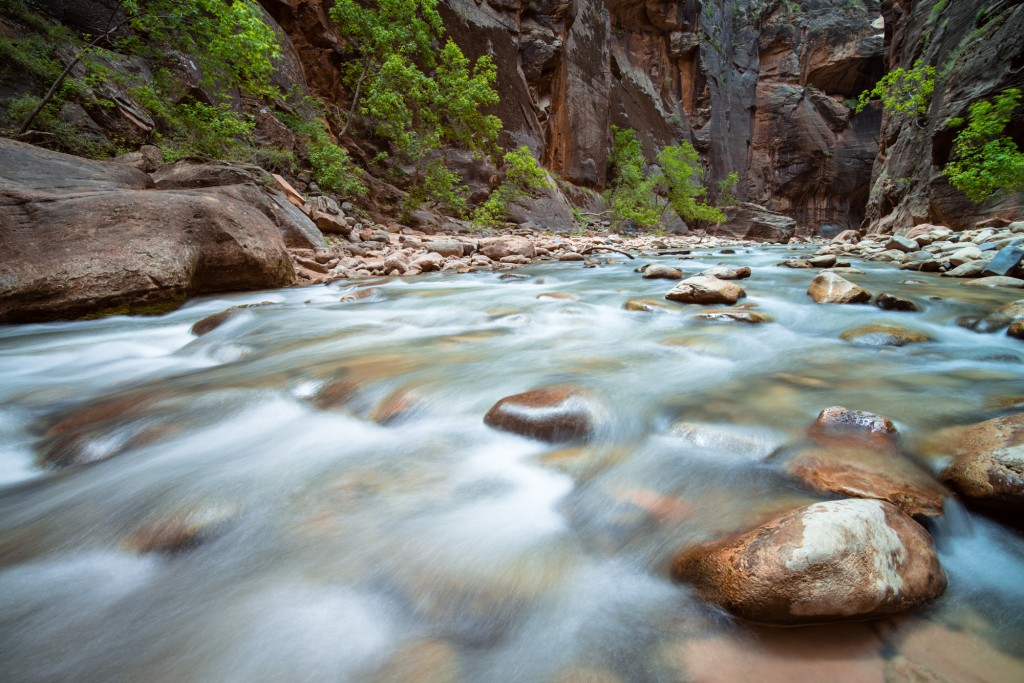
After a few more twists in the canyon, we found that our trip was at an end and we were at the paved trail leading to the Temple of Sinawava. Overall, a pretty grand trip. Anne and I hadn’t been on an overnight trip since this past winter and it was great to get away from crowds and do what many consider to be an iconic hike. While I was hoping for more accommodating weather on the second day, I certainly couldn’t argue with either the water level or generally the temperatures given our use of dry pants. On retrospect, the dry pants were critical for comfort on the trip and were a wise investment (despite the fact that we didn’t use them at all the first day).
Kanarra Canyon
Our next canyon was the Kanarra Canyon in Kanarraville about an hour outside of Zion. The hike is relatively short, has an easy approach, and provides nice narrow and scenic slot canyons with at least two very nice waterfalls and some sporty if not difficult ladder climbing.
Parking for the canyon is in a parking lot at the base of the access road and costs $10 for the day. You can park for free at the city hall, and you should be aware that it’s not permitted in Kanarraville to park on the street (or at least not for visitors).
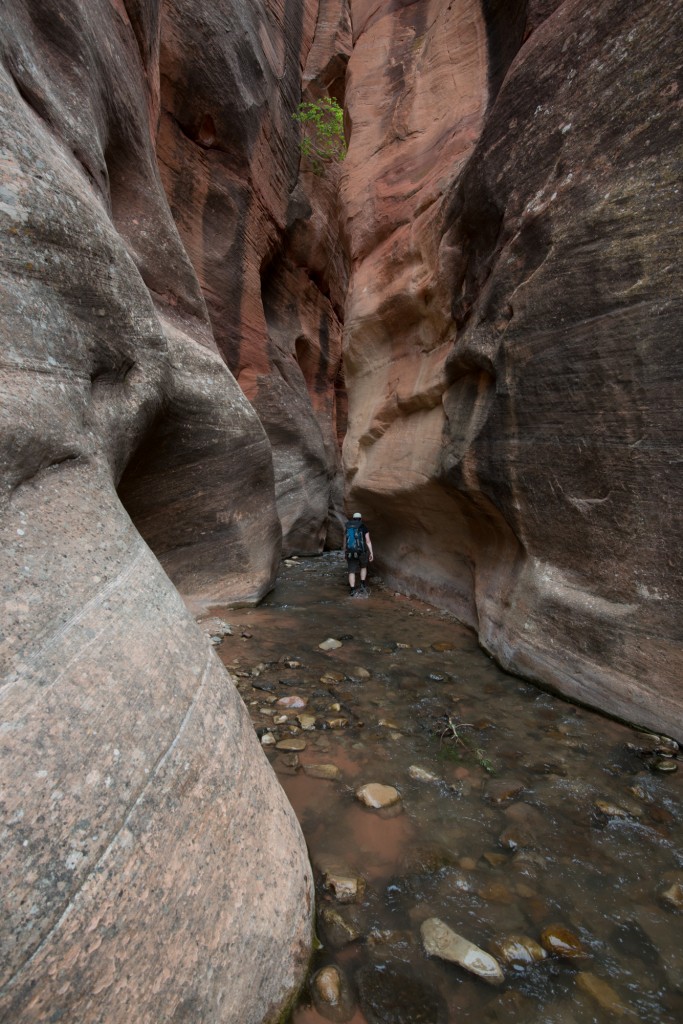
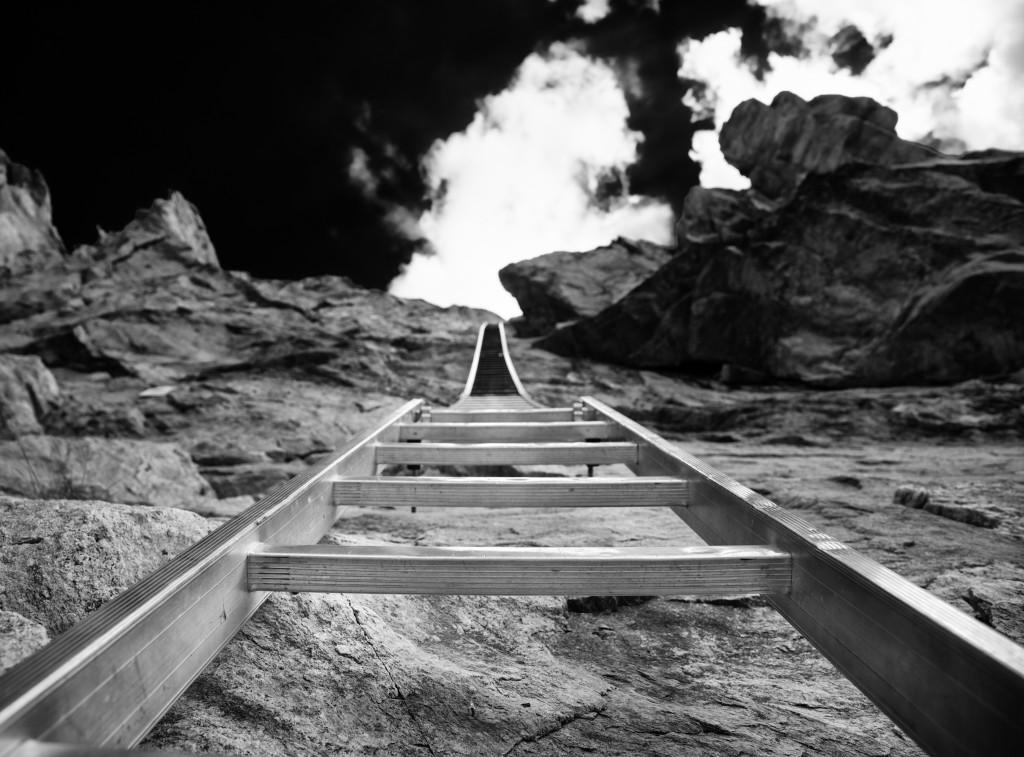
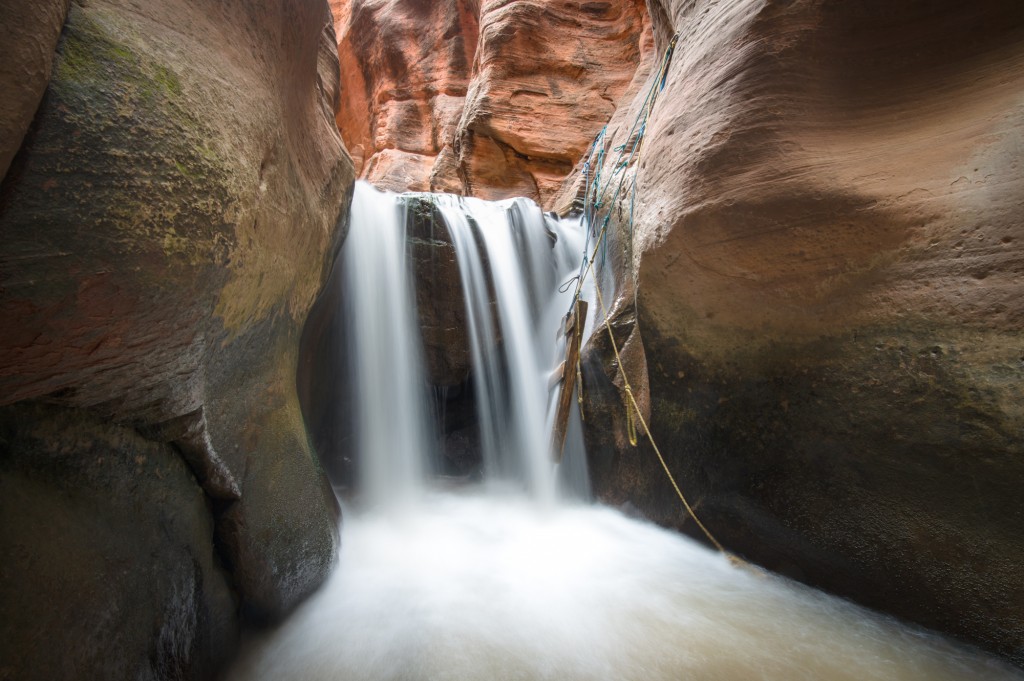
The path follows an access road for a while, gaining, then losing, then slowly gaining elevation again. After about 1 mile (possibly less) the trail joins Kanarra creek, initially crossing it for a short while and finally joining with it. The first slot comes up rather suddenly and is narrow, somewhat tall, and completely fun. This ends quickly in the first waterfall that is well provisioned with a “ladder” that allows hikers to climb up to the top.
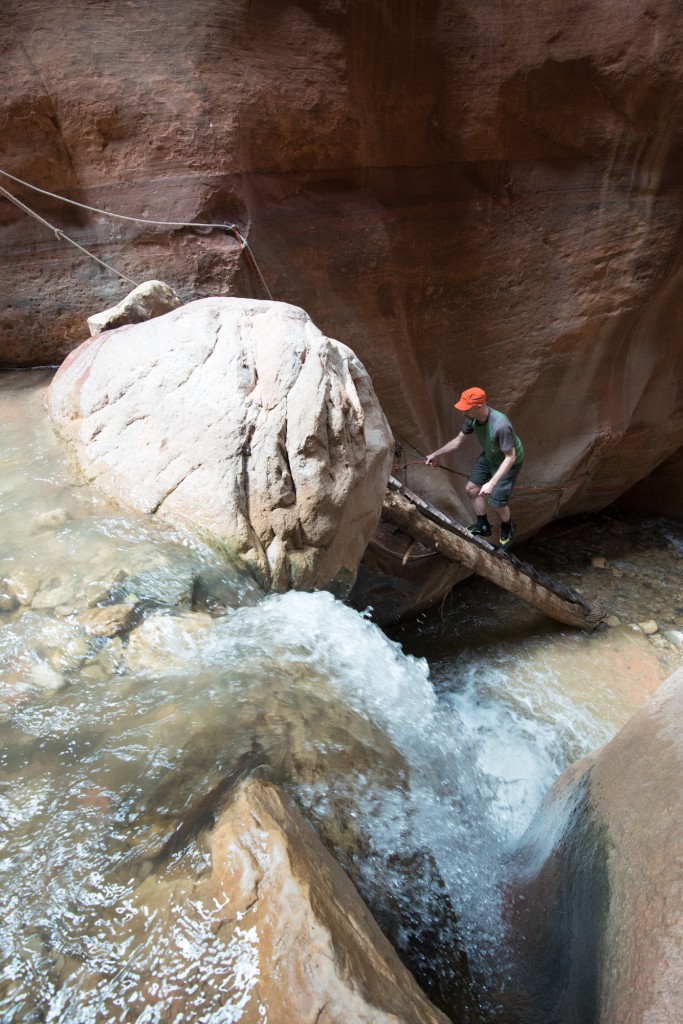
The next section works past some slide debris, through a wider area of the canyon before coming to some slick rock falls (and a nice natural water slide), a side canyon confluence, and the second of the narrow sections of the canyon that leads to the second waterfall. Here the ladder consists of a two rung wooden ladder strung up on the rock with a set of ropes. The whole contraption is somewhat unstable but has foot loops, hand loops, and knots to make the ascent completely possibly if somewhat ungainly. This is where we stopped and turned around.
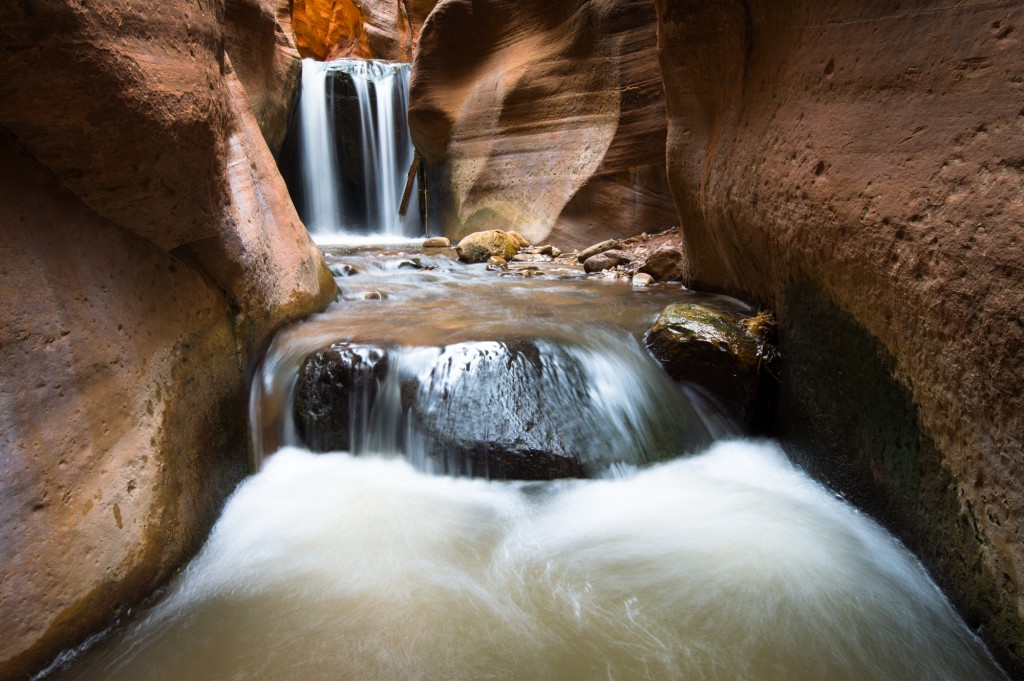
In terms of bang for the buck, it felt like it was pretty hard to beat Kanarra Canyon. Access was short without a lot of elevation gain, there are a couple very nice narrow sections to the canyon, and there are a number of water features that could keep photographers occupied for hours. For families, there are a couple nice pools to cool off in, a great area for lunch, and a natural water slide. Overall, I thought it was an excellent canyon.
The Subway
Our final canyon of the trip was the venerable Subway. We chose to do the canyon as a round trip from the bottom given our photo gear though most of the traffic we saw during the day (at least 40 people) came from the top as a true wet canyon trip.
We read one description of the bottom up round trip route as not being worth the effort. It proclaimed the hike as disappointing if you only come to look at the Subway and implored readers to do other hikes in the park. After hiking the trail, it’s somewhat hard to disagree. The hike in is laborious and in the sun it’s also hot. Because most of the trail follows the river, it’s constantly criss-crossing the water and rock hopping. That said, Anne and I both had times where we were able to lose ourselves in the beauty of the place.
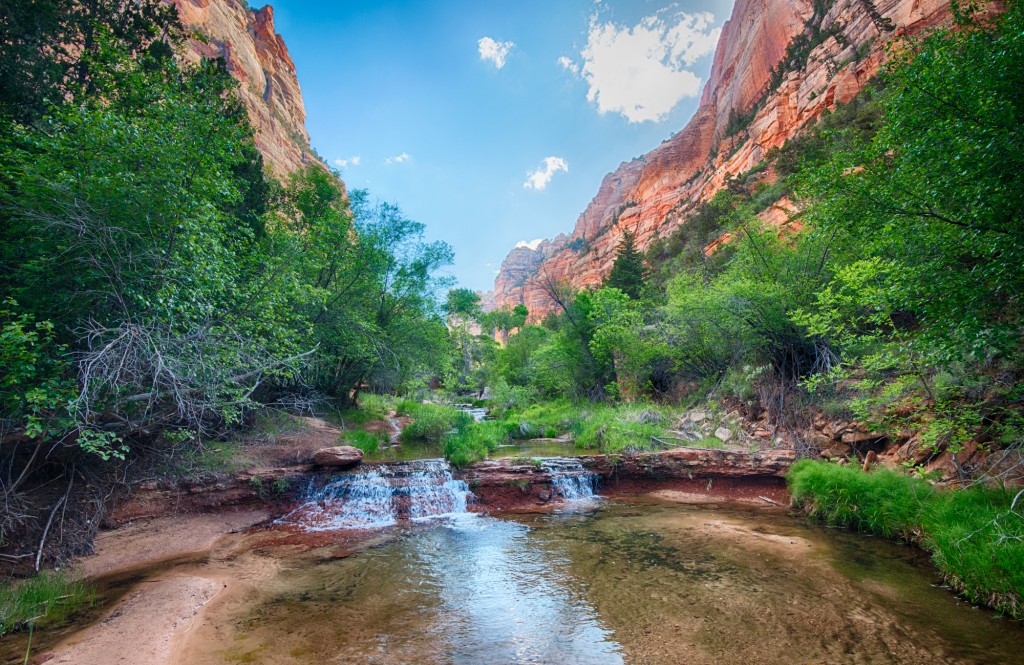
The bulk of the trail can be done dry, and until the last half mile or so we hiked in our normal hiking shoes. Once we reached the slick rock formations, we transitioned into our wet shoes (for Anne these were sandals, for me it was a pair of Five Ten Canyoneers). Once wet, I did the rest of the trip in my wet shoes. On hindsight, I should have only carried a single pair of shoes (the Canyoneers) and saved myself the trouble of keeping my feet dry on the way in, which would have made route finding easier.
Of course the highlight of the trip is the Subway formation itself. This comes at the very end of the outbound trip and is really just the last 100 or so yards. Given the name and the pictures I’d seen, I had expected the rock to overhang the formation more. However, careful placement of the camera can provide the illusion that the Subway is somewhat more covered and subterranean than it actually is.
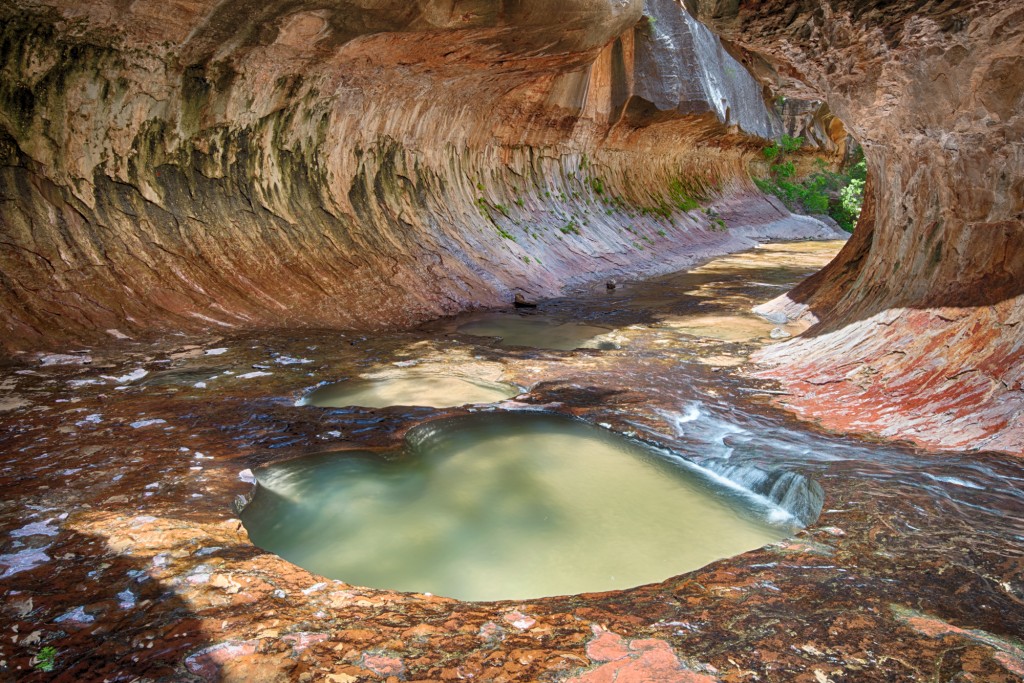
Time of day is also important. Because the trail in took us longer than expected, we arrived shortly before noon when harsh sunlight was streaming directly down into the slot. It turns out that the best light for the Subway is either mid-morning or mid-afternoon, which helps soften contrast inside the formation while helping to light the “entrance” and “exit” of the formation. Unfortunately, we needed to leave before the afternoon sun the right location.
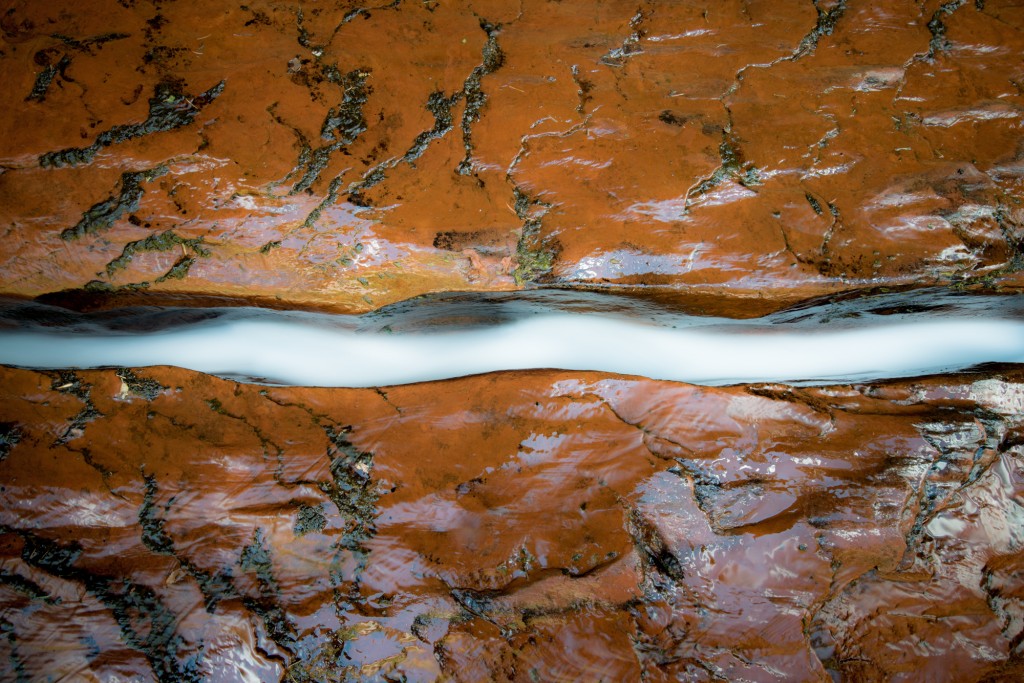
The second highlight of the trip was the slick rock formations and waterfalls. There is a small channel in the rock, literally around the corner from the Subway (possibly 200 yards downstream) that’s also a popular photography subject and one that Anne and I spent a lot of time photographing. This location is best in the morning while the rock is still in the shade. When we left around 3, the light was directly on this area and quite harsh.
Summary
While I’ve visited Zion National Park previously, I never felt like I’d truly explored the park in a way that wasn’t just superficial. This trip allowed us to see some of the classic sights of the park, get some great photos, and simply enjoy a wonderful long weekend in a spectacular area of the country.
